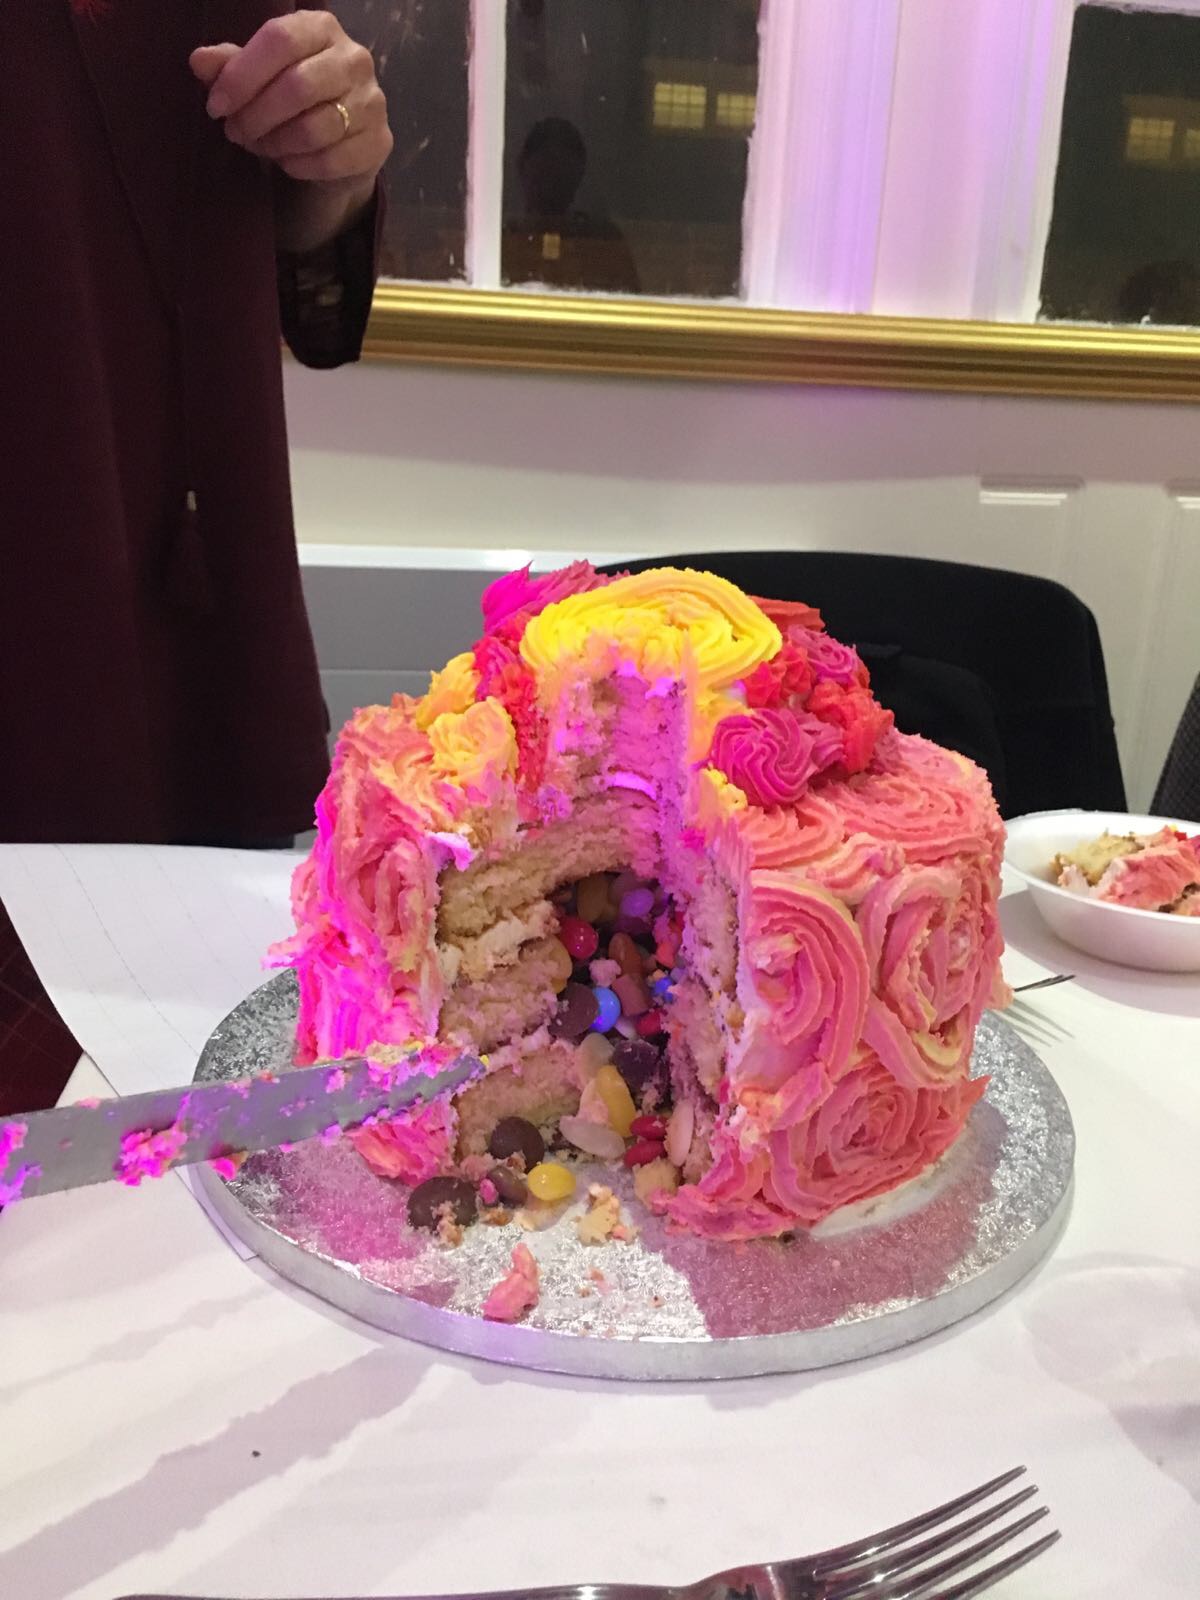
Hellloo, I finally got to make that cake! So we made a piñata cake! This consists of layers of cake with sweets hidden in the middle which fall out when you cut into it.

I used a basic vanilla cake recipe which involves weighing the eggs and using the same weight of flour, caster sugar (I love using golden caster sugar as it gives a lovely taste and a golden darker colour) and butter, along with a tsp of vanilla extract. I know a lot of people prefer the all in one method but I definitely think you end up with a fluffier cake in the end if you cream the butter and sugar together until it’s really fluffy and airy.

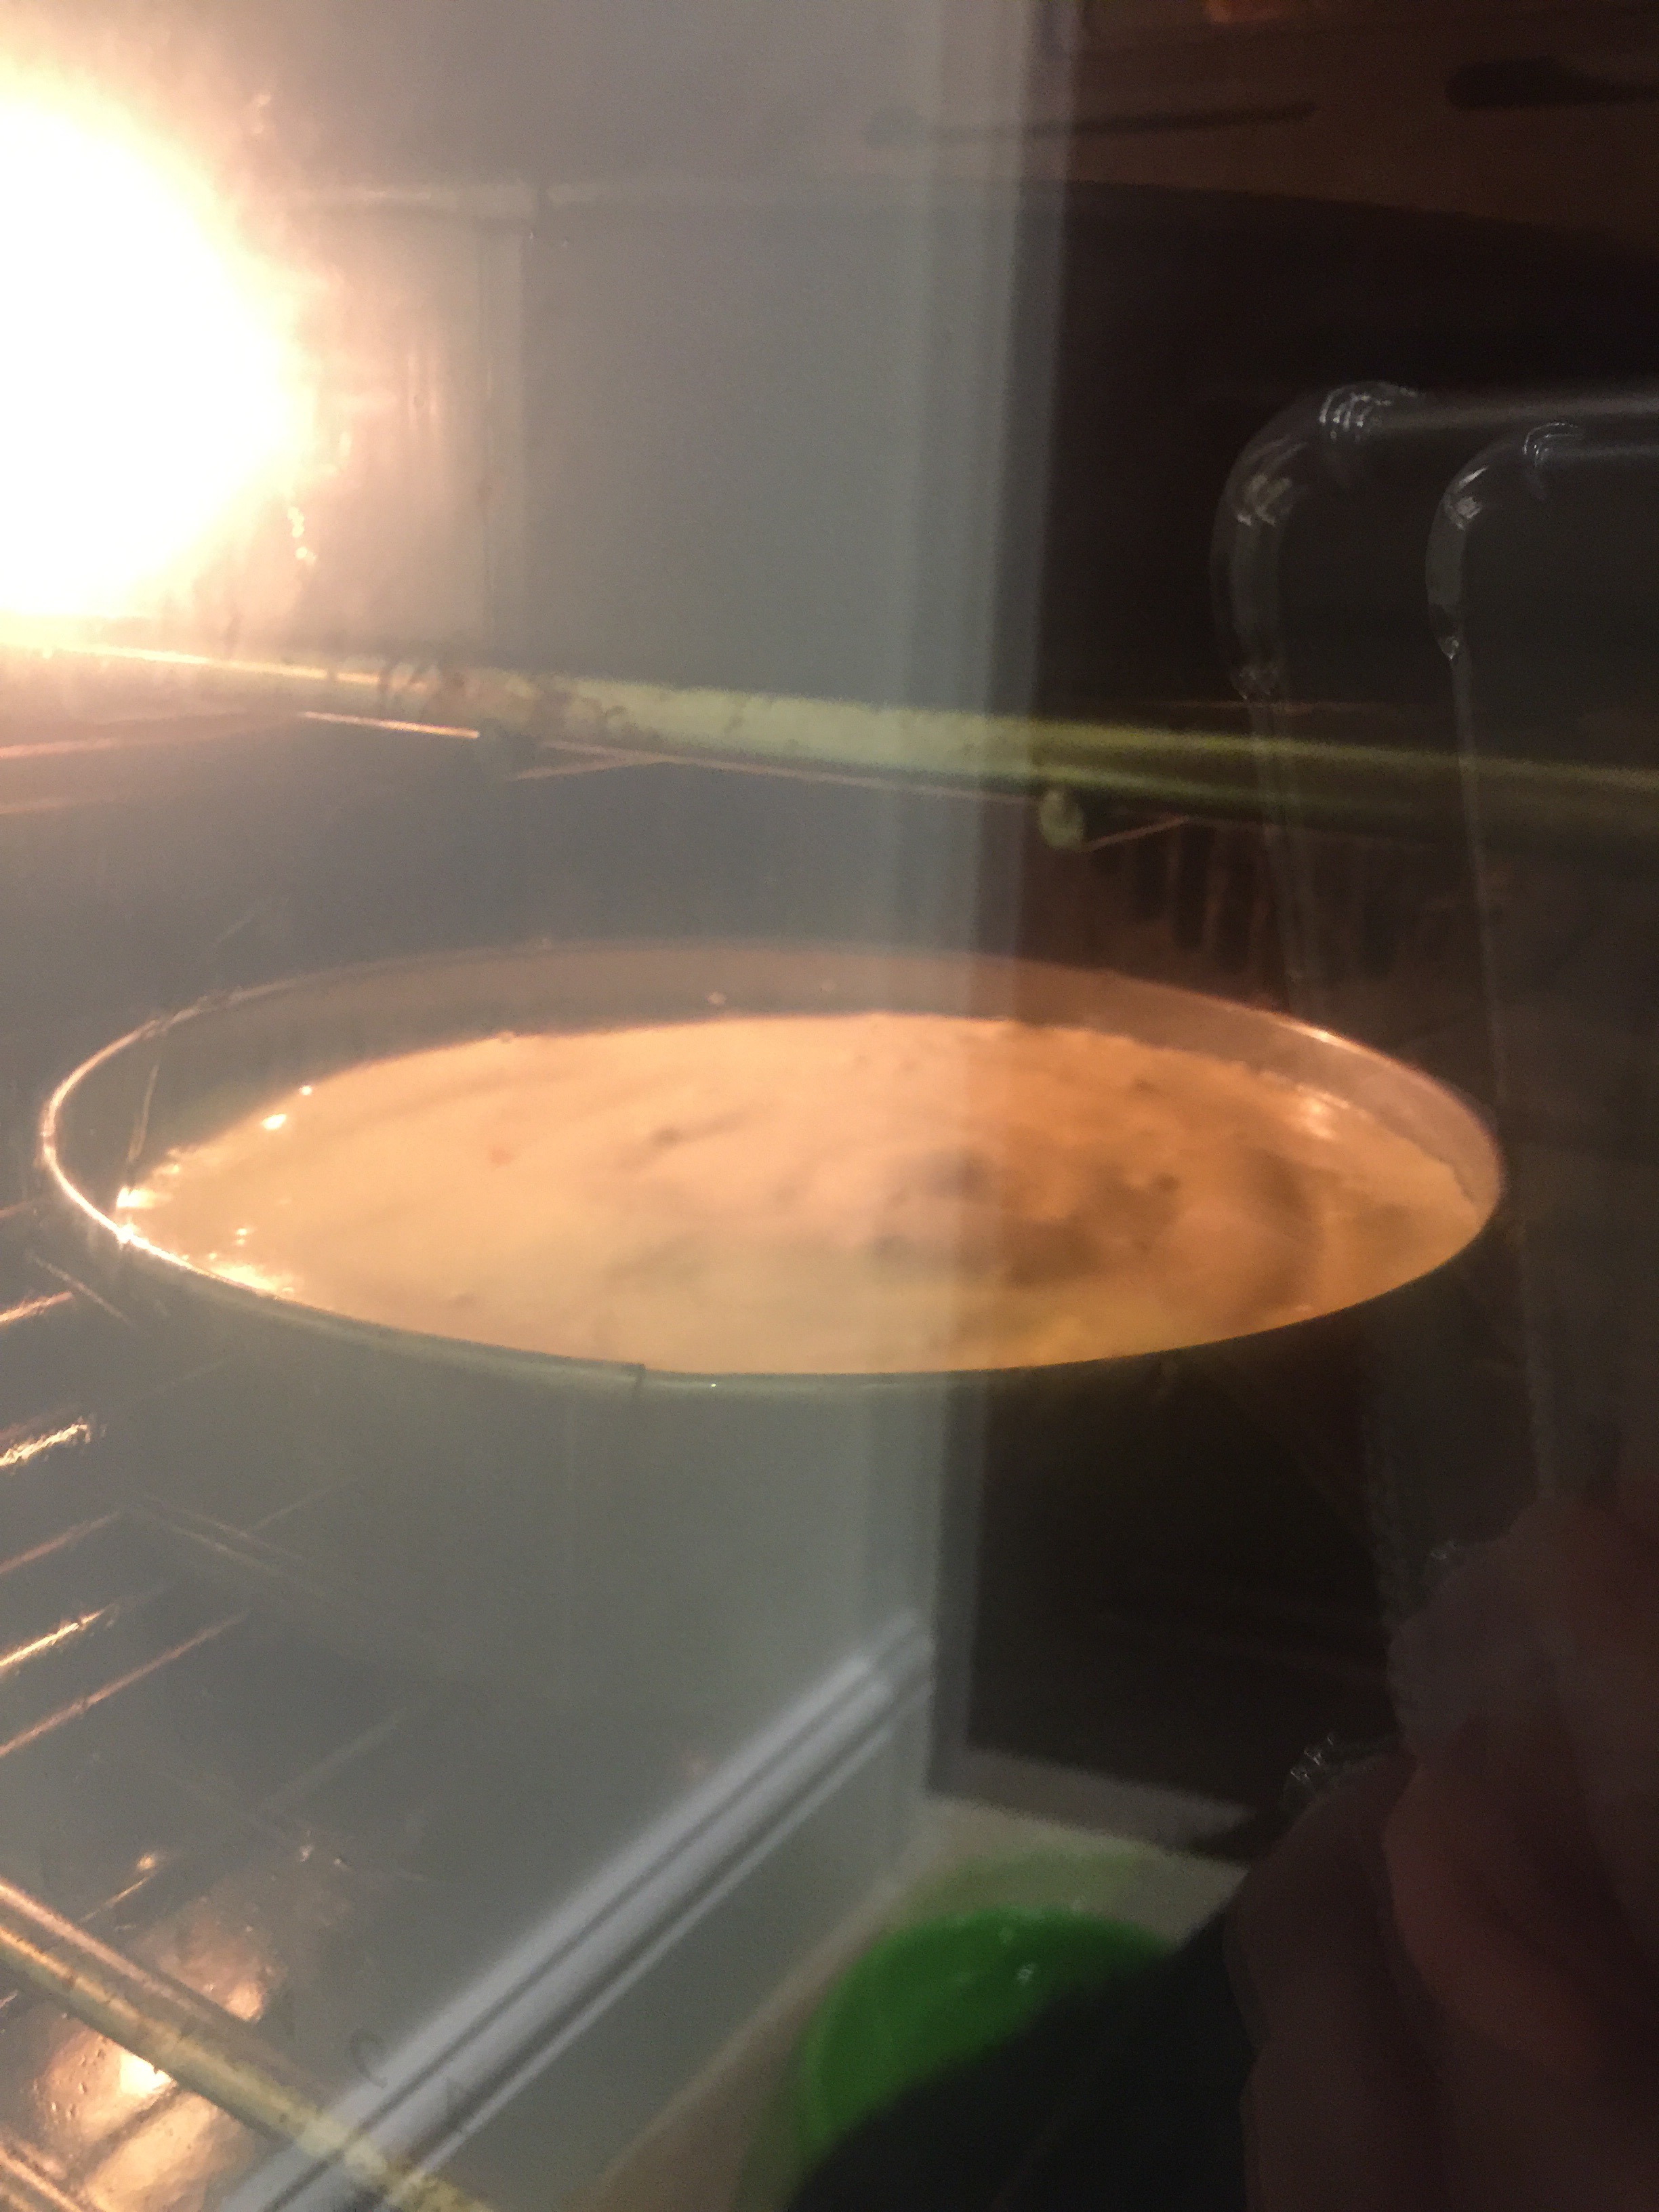
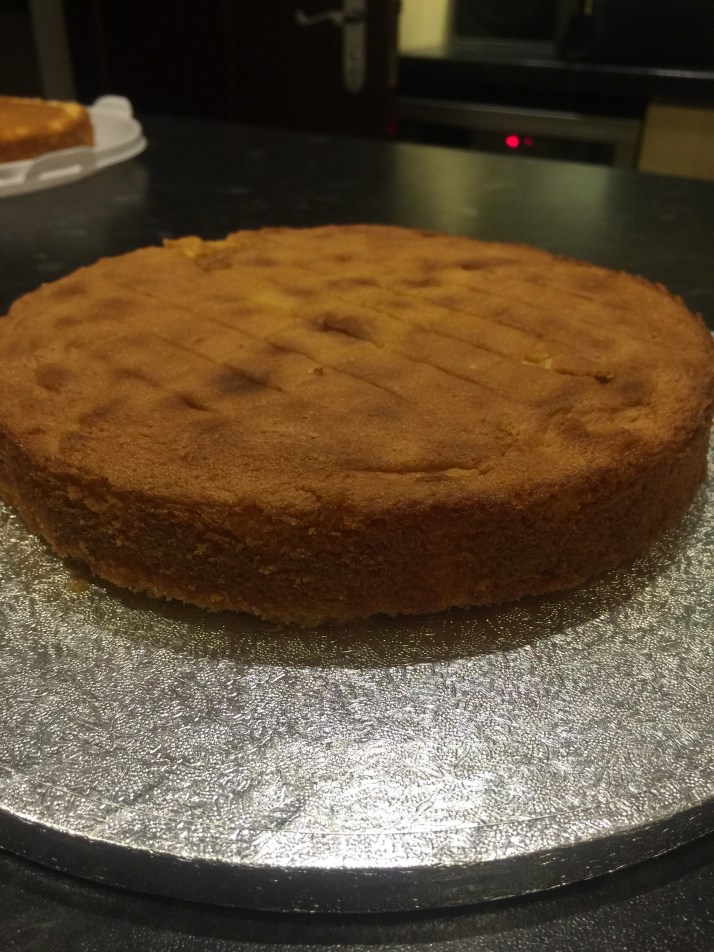
Then beat in the eggs, fold in the flour and divide into 3 cake tins and into the oven at 180 degrees for 20-25 mins. Towards the end of the cooking time test that it is cooked using a skewer, if it comes out clean with no cake mix on it then you’re done!

Place on a wire rack to cool, the sponge should be springy and fluffy to create a light and airy sponge.
While this is cooling you can make the buttercream icing. I use 150g of unsalted butter to every 280g of icing sugar and add a tsp of vanilla extract. Beat the butter with the vanilla extract until it is soft and fluffy. The fluffier it is the lighter the buttercream will be. I like using buttercream icing as you can use so many different nozzles to create different effects.

Once the butter and vanilla extract is fluffy slowly sieve the icing sugar in a little bit at a time and ensure it mixes into the butter completely to avoid any lumps. The more air you can get into it each time lighter it will be. When you’ve got all the icing sugar combined with the butter you can add milk a table spoon at a time and beat in to achieve the correct consistency. If you are planning on piping the buttercream you need it to be a bit firmer to ensure it keeps its shape. To make this much bettercream I used 1400g of icing sugar and 750g of unsalted butter.

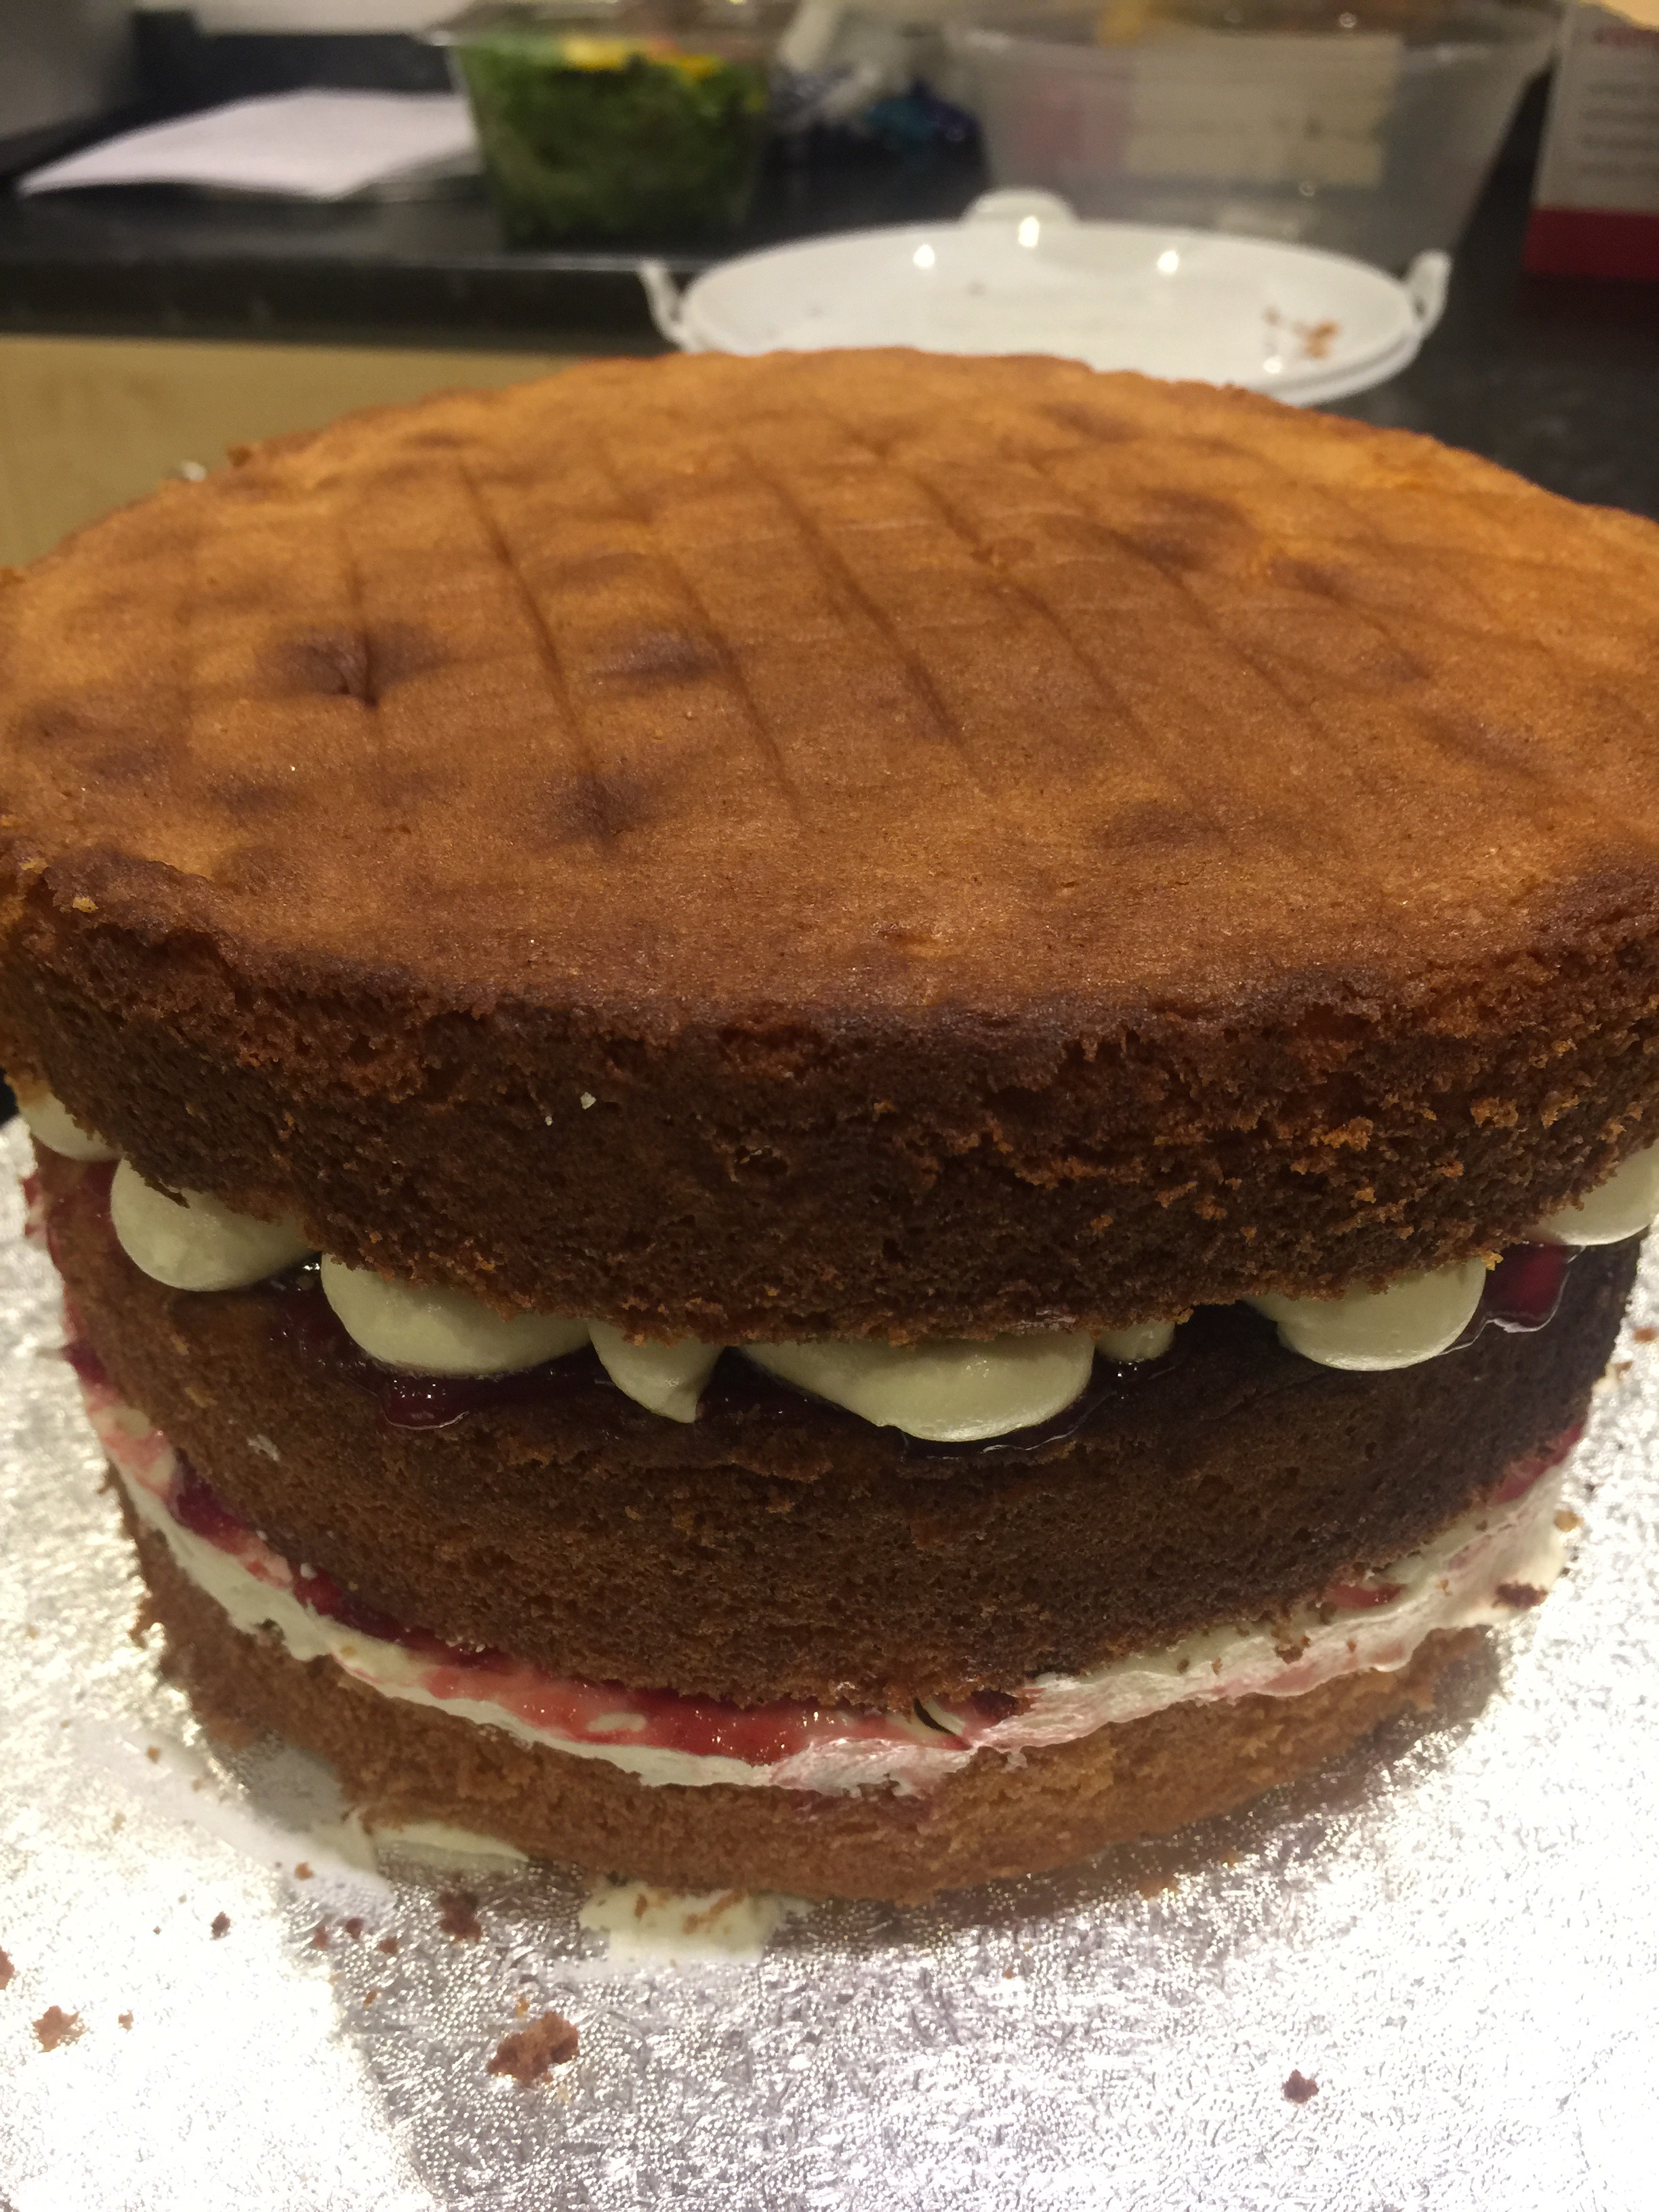
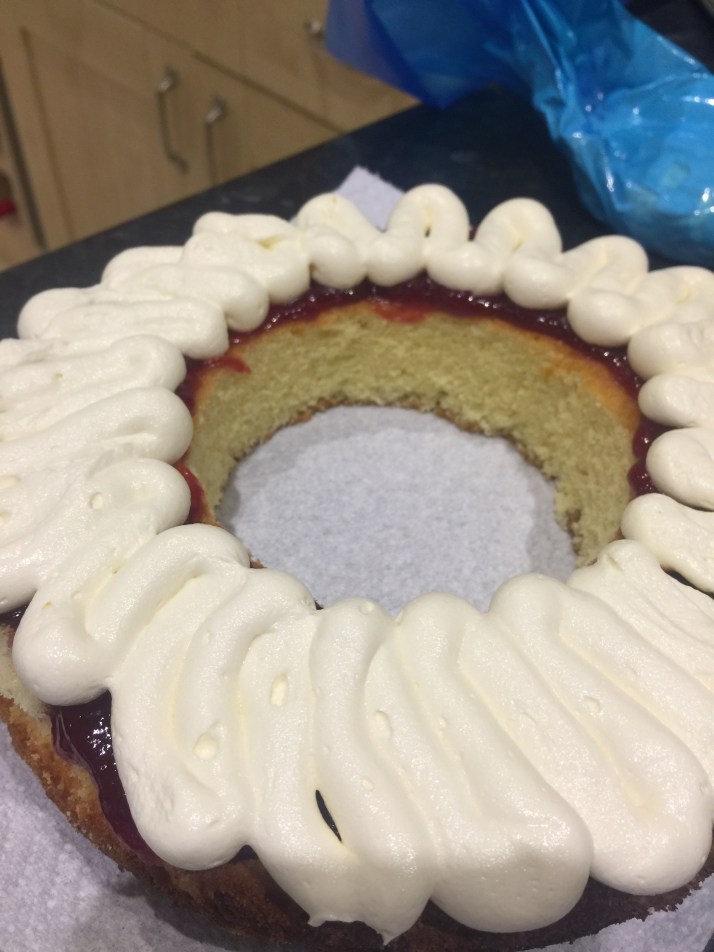
Now the cake has cooled you should have 3 layers of cake. You need to cut the middle out of one to create a doughnut shape. Keep the centre piece to one side, it always comes in handy and I hate wasting anything!

I used seedless raspberry jam to create a classic Victoria sponge style cake and some of the buttercream icing we made earlier to fill the inside of cake.
You then flip this over and place it onto the bottom layer of cake on a board and repeat on the other side of the doughnut. It helps to put a bit of buttercream on the board to help stick the cake to it. It would be horrible if it fell off!
You can now fill the middle of the doughnut with any sweets of your choosing. For an ever so slightly healthier alternative you could fill it with fruit, but only if it is going to be served straight away.

You need to make sure that you have packed the sweets in quite tightly as they need to be able to support the top layer of cake which now goes on top.

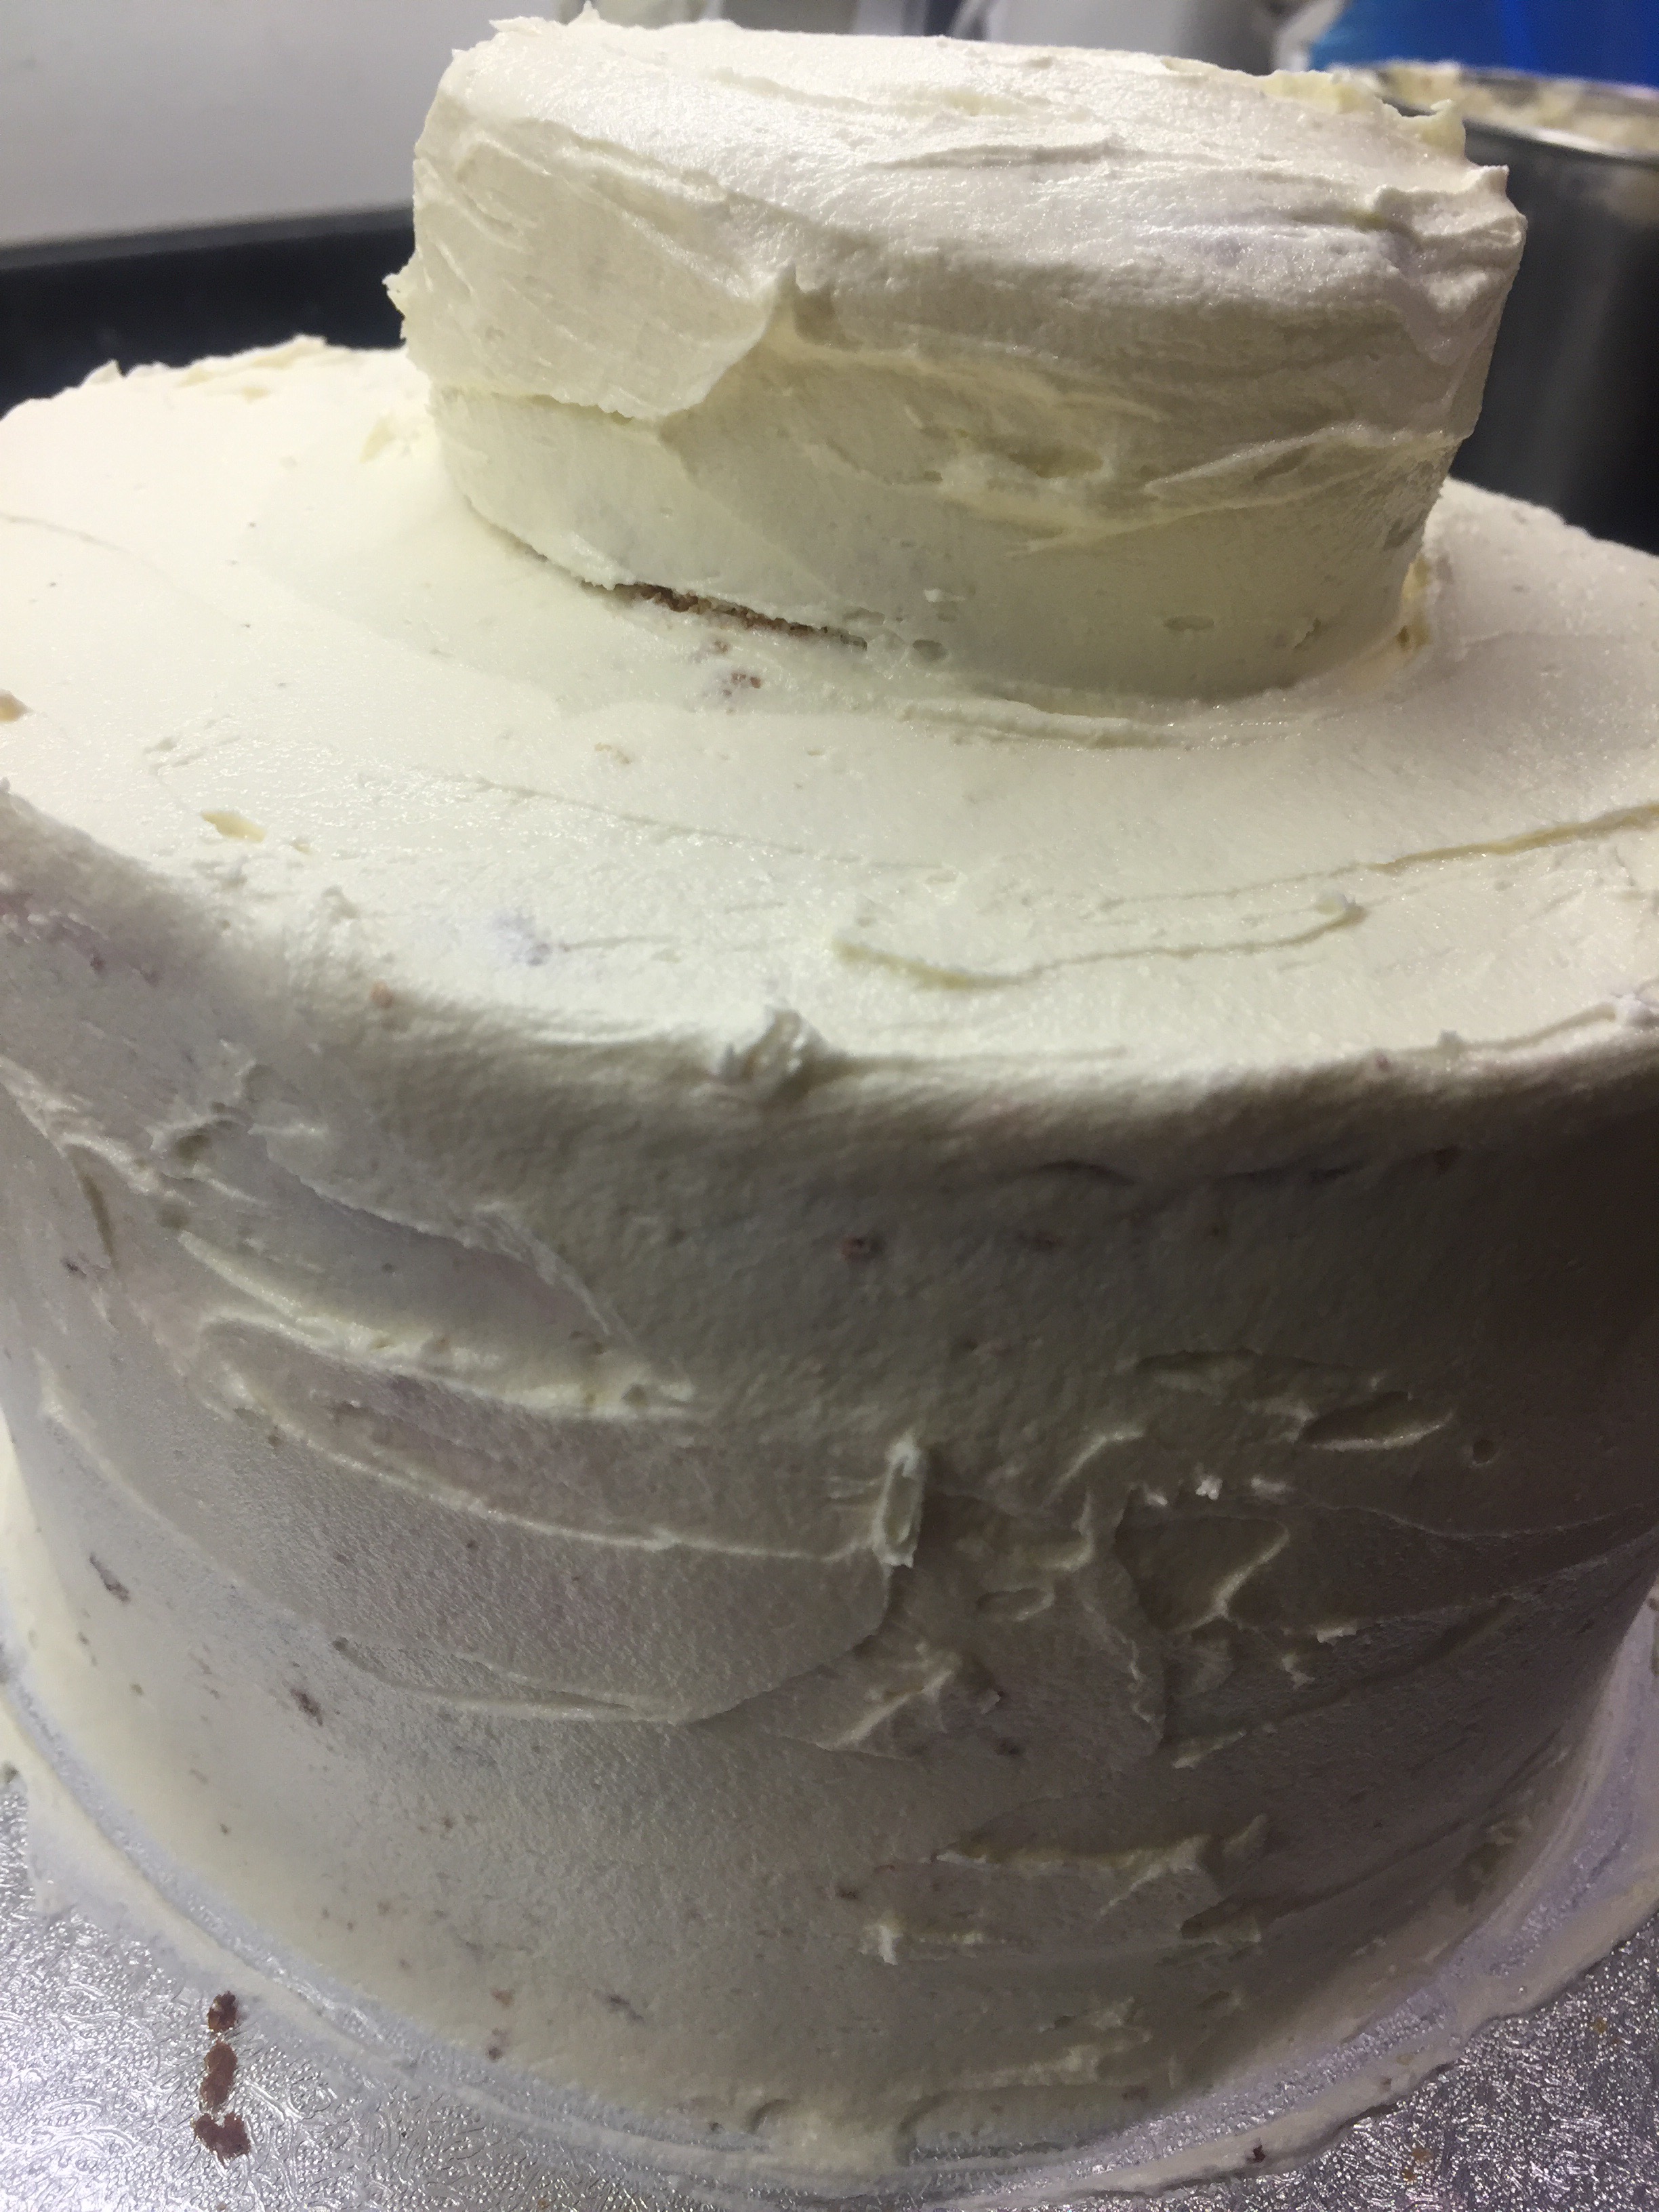
I then stuck the middle bit which we cut out earlier on the top with buttercream to give me something to ice later.

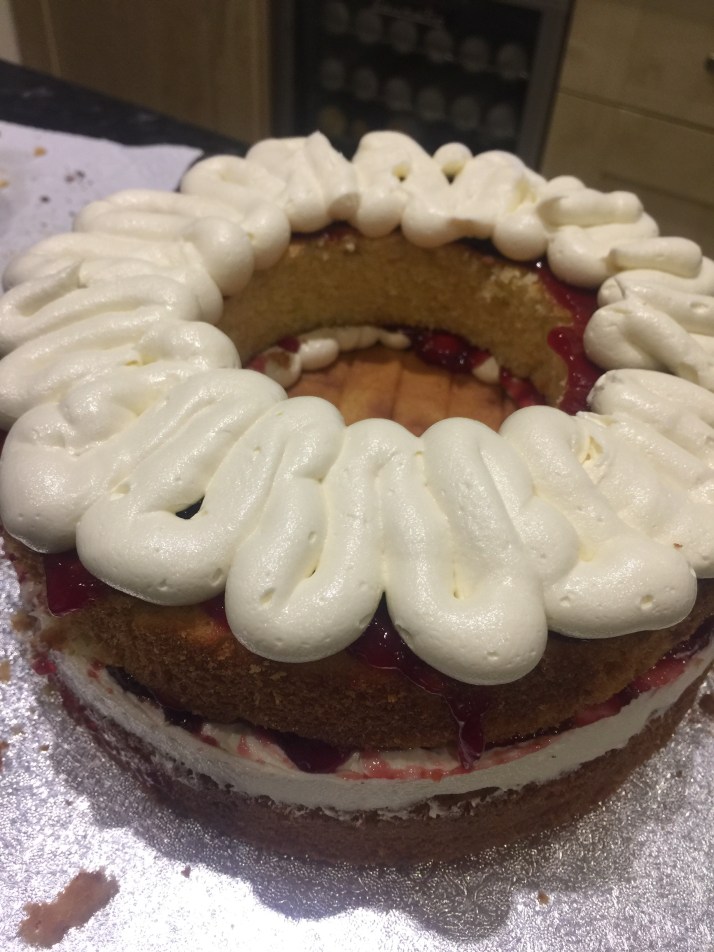
Then ice all over the cake with a thin layer of buttercream. This does not need to be perfect as we are going to ice over it again.

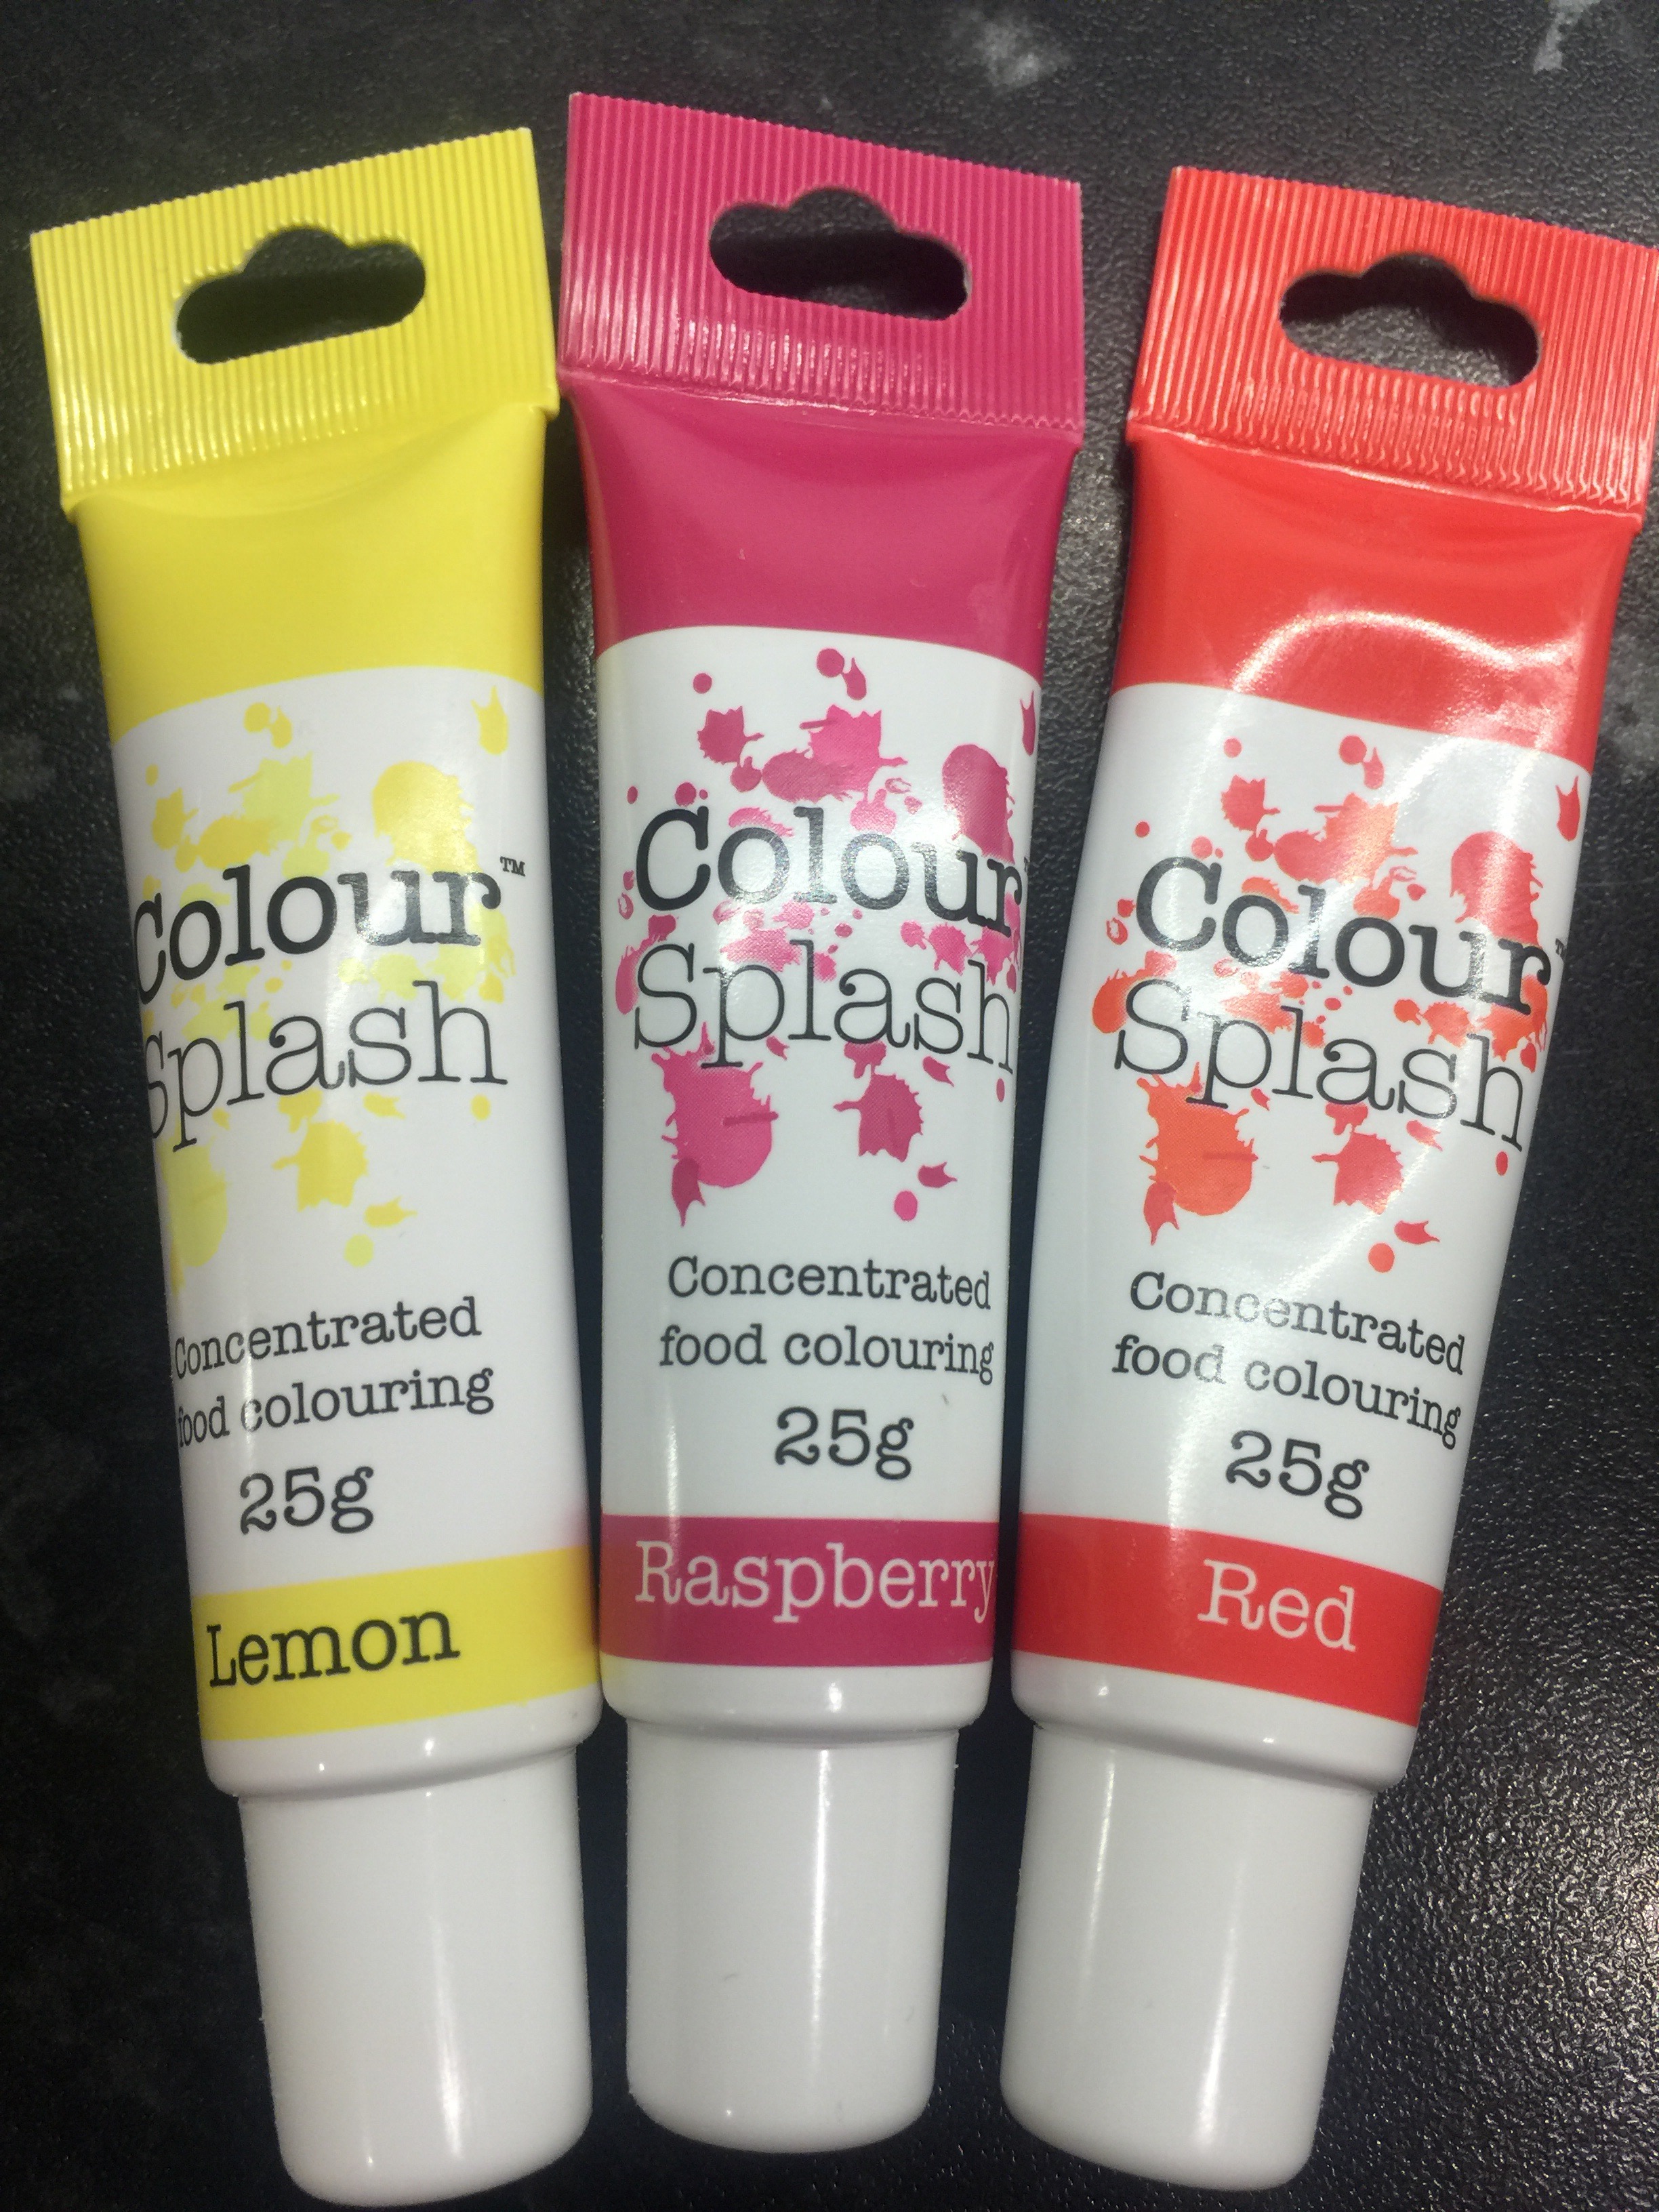
We now need to colour the buttercream icing. I prefer to use gel food colouring as it keeps the consistency of the icing and a darker, stronger colour.

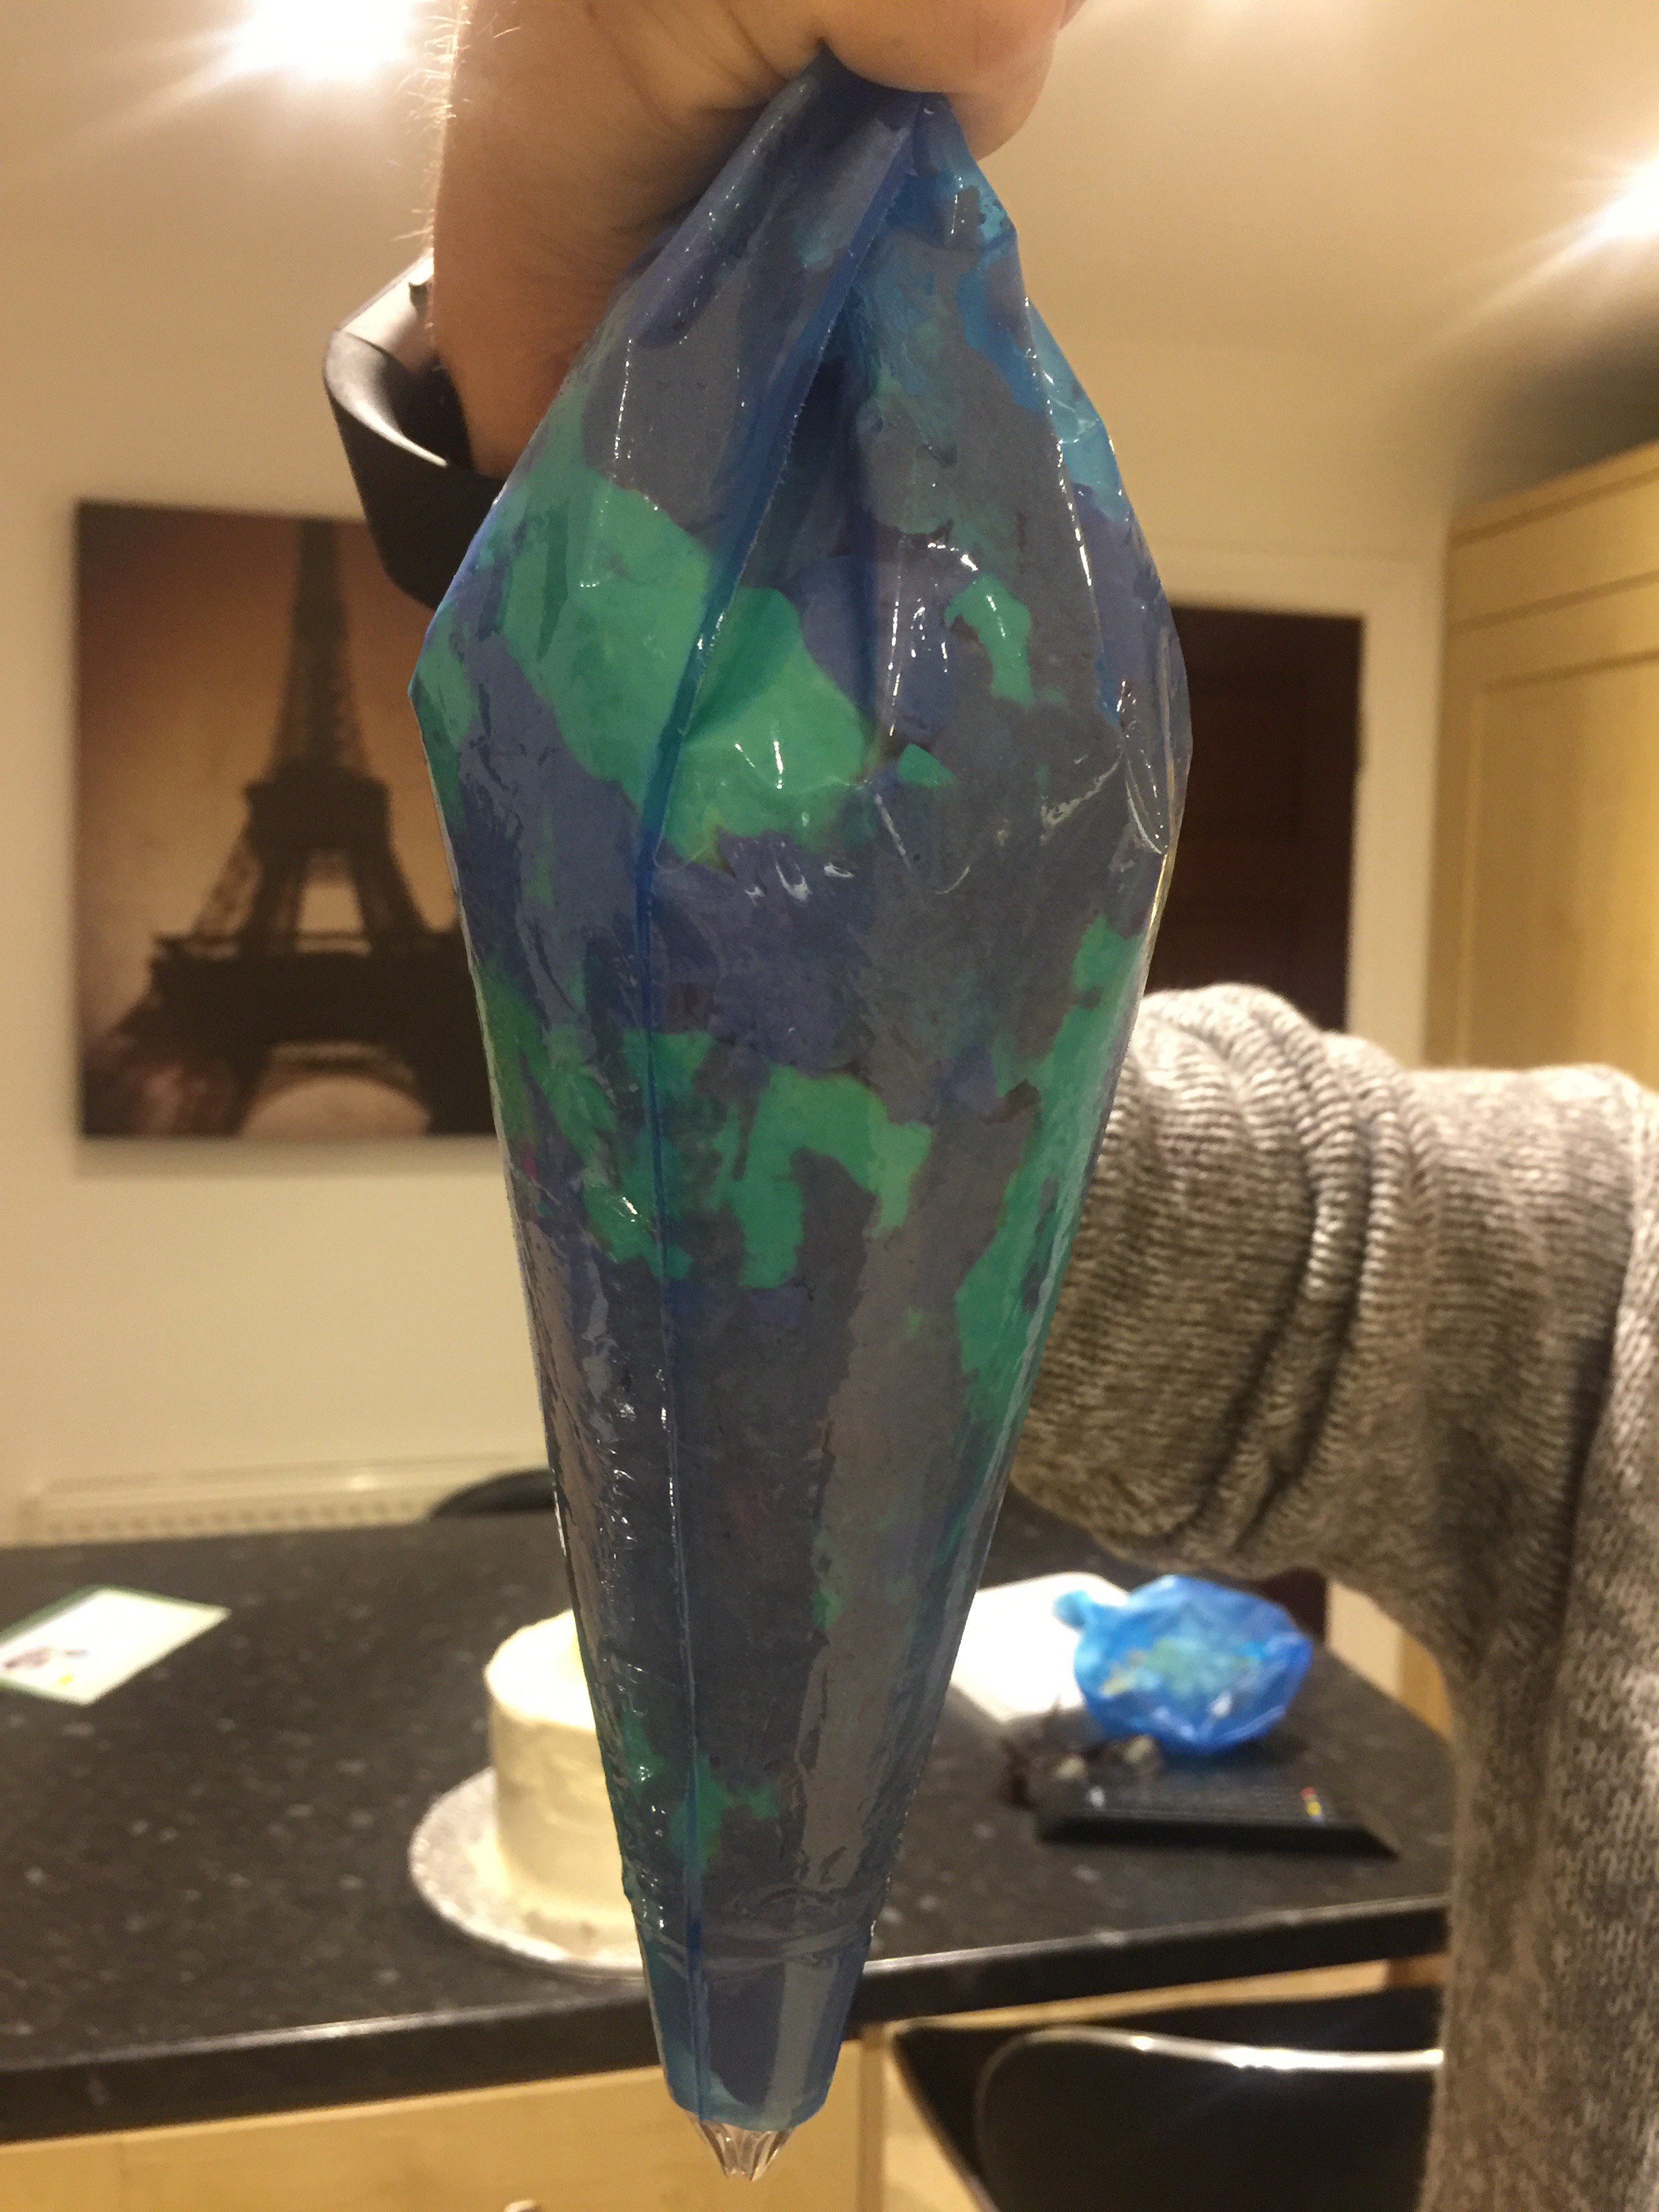
Put the icing into a piping bag (I like to use disposable ones, no washing up!). You can use whatever nozzle you want to use but I like the star nozzle as it creates a nice swirl when piped. As I used three different colours of icing I put it into the bag 1 spoonful at a time in order to create a mixed colour when I piped.

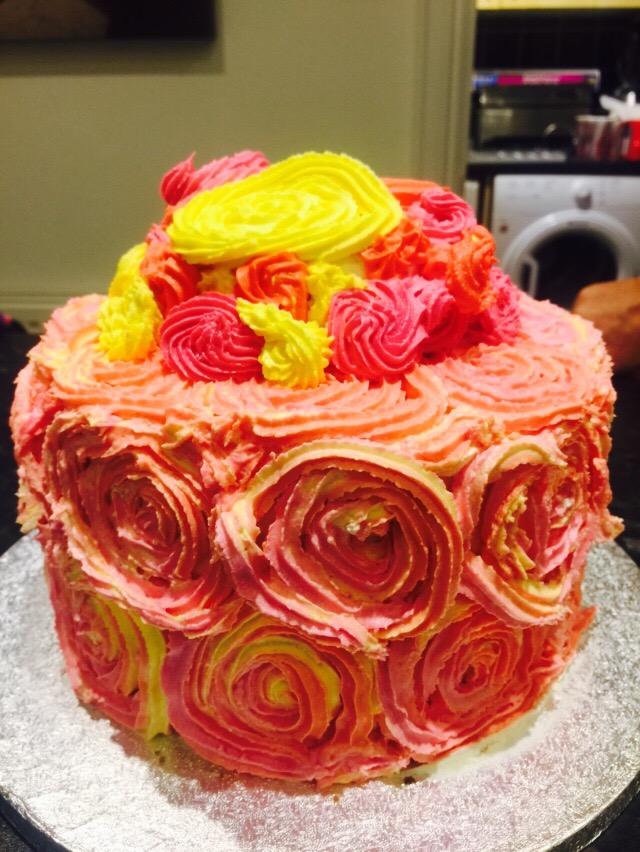
This star nozzle is good for piping swirls. You then need to pipe all around the side of the cake. To do these ones I started in the middle of each swirl and iced outwards. I then iced the extra piece of cake we put on top with different swirls and flowers in darker food colouring

But you can ice this however you want 🙂
And that is pretty much it! I was lucky enough to get a photo of it after it was cut which is always nice to see how it looks inside!

You will need a very sharp knife to get through all those sweets!!!