Christmas time, lots of cupcakes and wine.
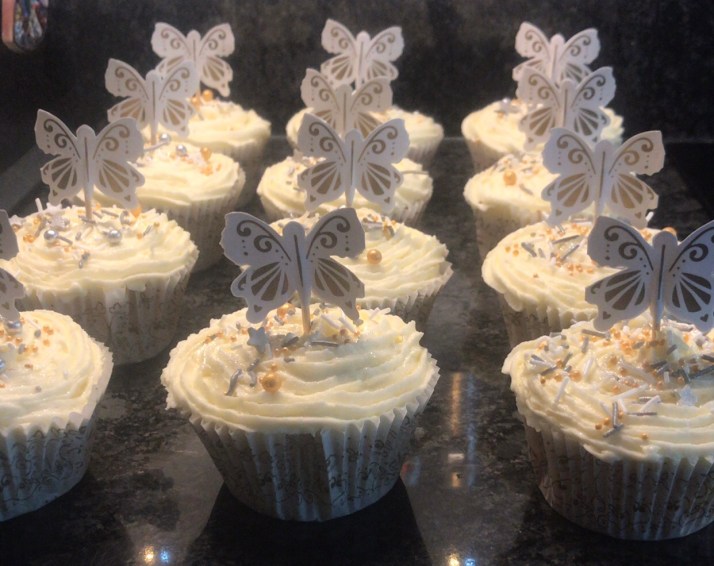
Who wants mistletoe when you can have cupcakes?
I have neglected the baking side of this blog for far too long so we are back with a little bit of festive flair. These were baked for an early Christmas gathering which was the perfect opportunity to rustle up something nice. Actually I got a little bit carried away and made three cakes. This is because I found some unicorn cupcake cases and could not resist baking something colourful.
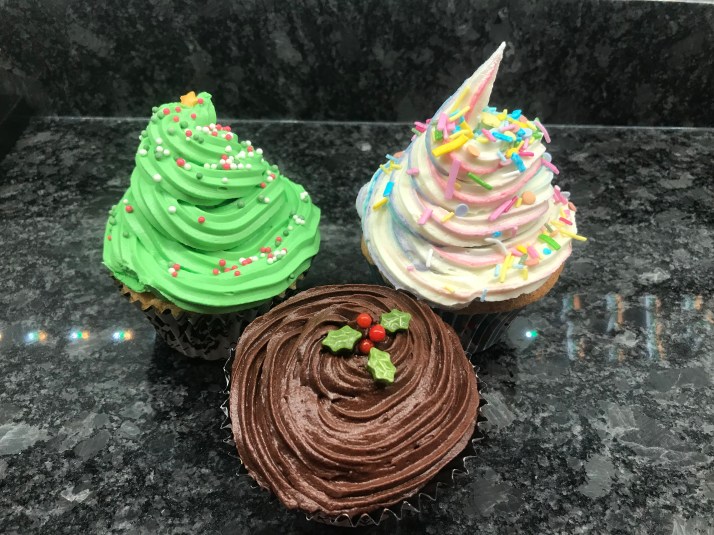
Vanilla Cupcakes (Unicorns and Christmas Trees)
Recipe: (This will bake 12 cupcakes):
*180g Caster sugar – (I am a very loyal Billington’s golden caster sugar fan)
*180g Butter – (Again I am very loyal to Stork, makes the best cakes!)
*3 Large Eggs – (Weigh them, should be approximately 180g
*180g Self raising flour
*1/2 tsb of vanilla extract
*1/2 tsb of baking powder
You will also need cupcake cases. I got the ones below from Morrisons, a nice cupcake case can really make a cupcake and give it an individual look.
For the buttercream icing:
*350g Unsalted butter
*700g Icing sugar
*1tsp Vanilla Extract
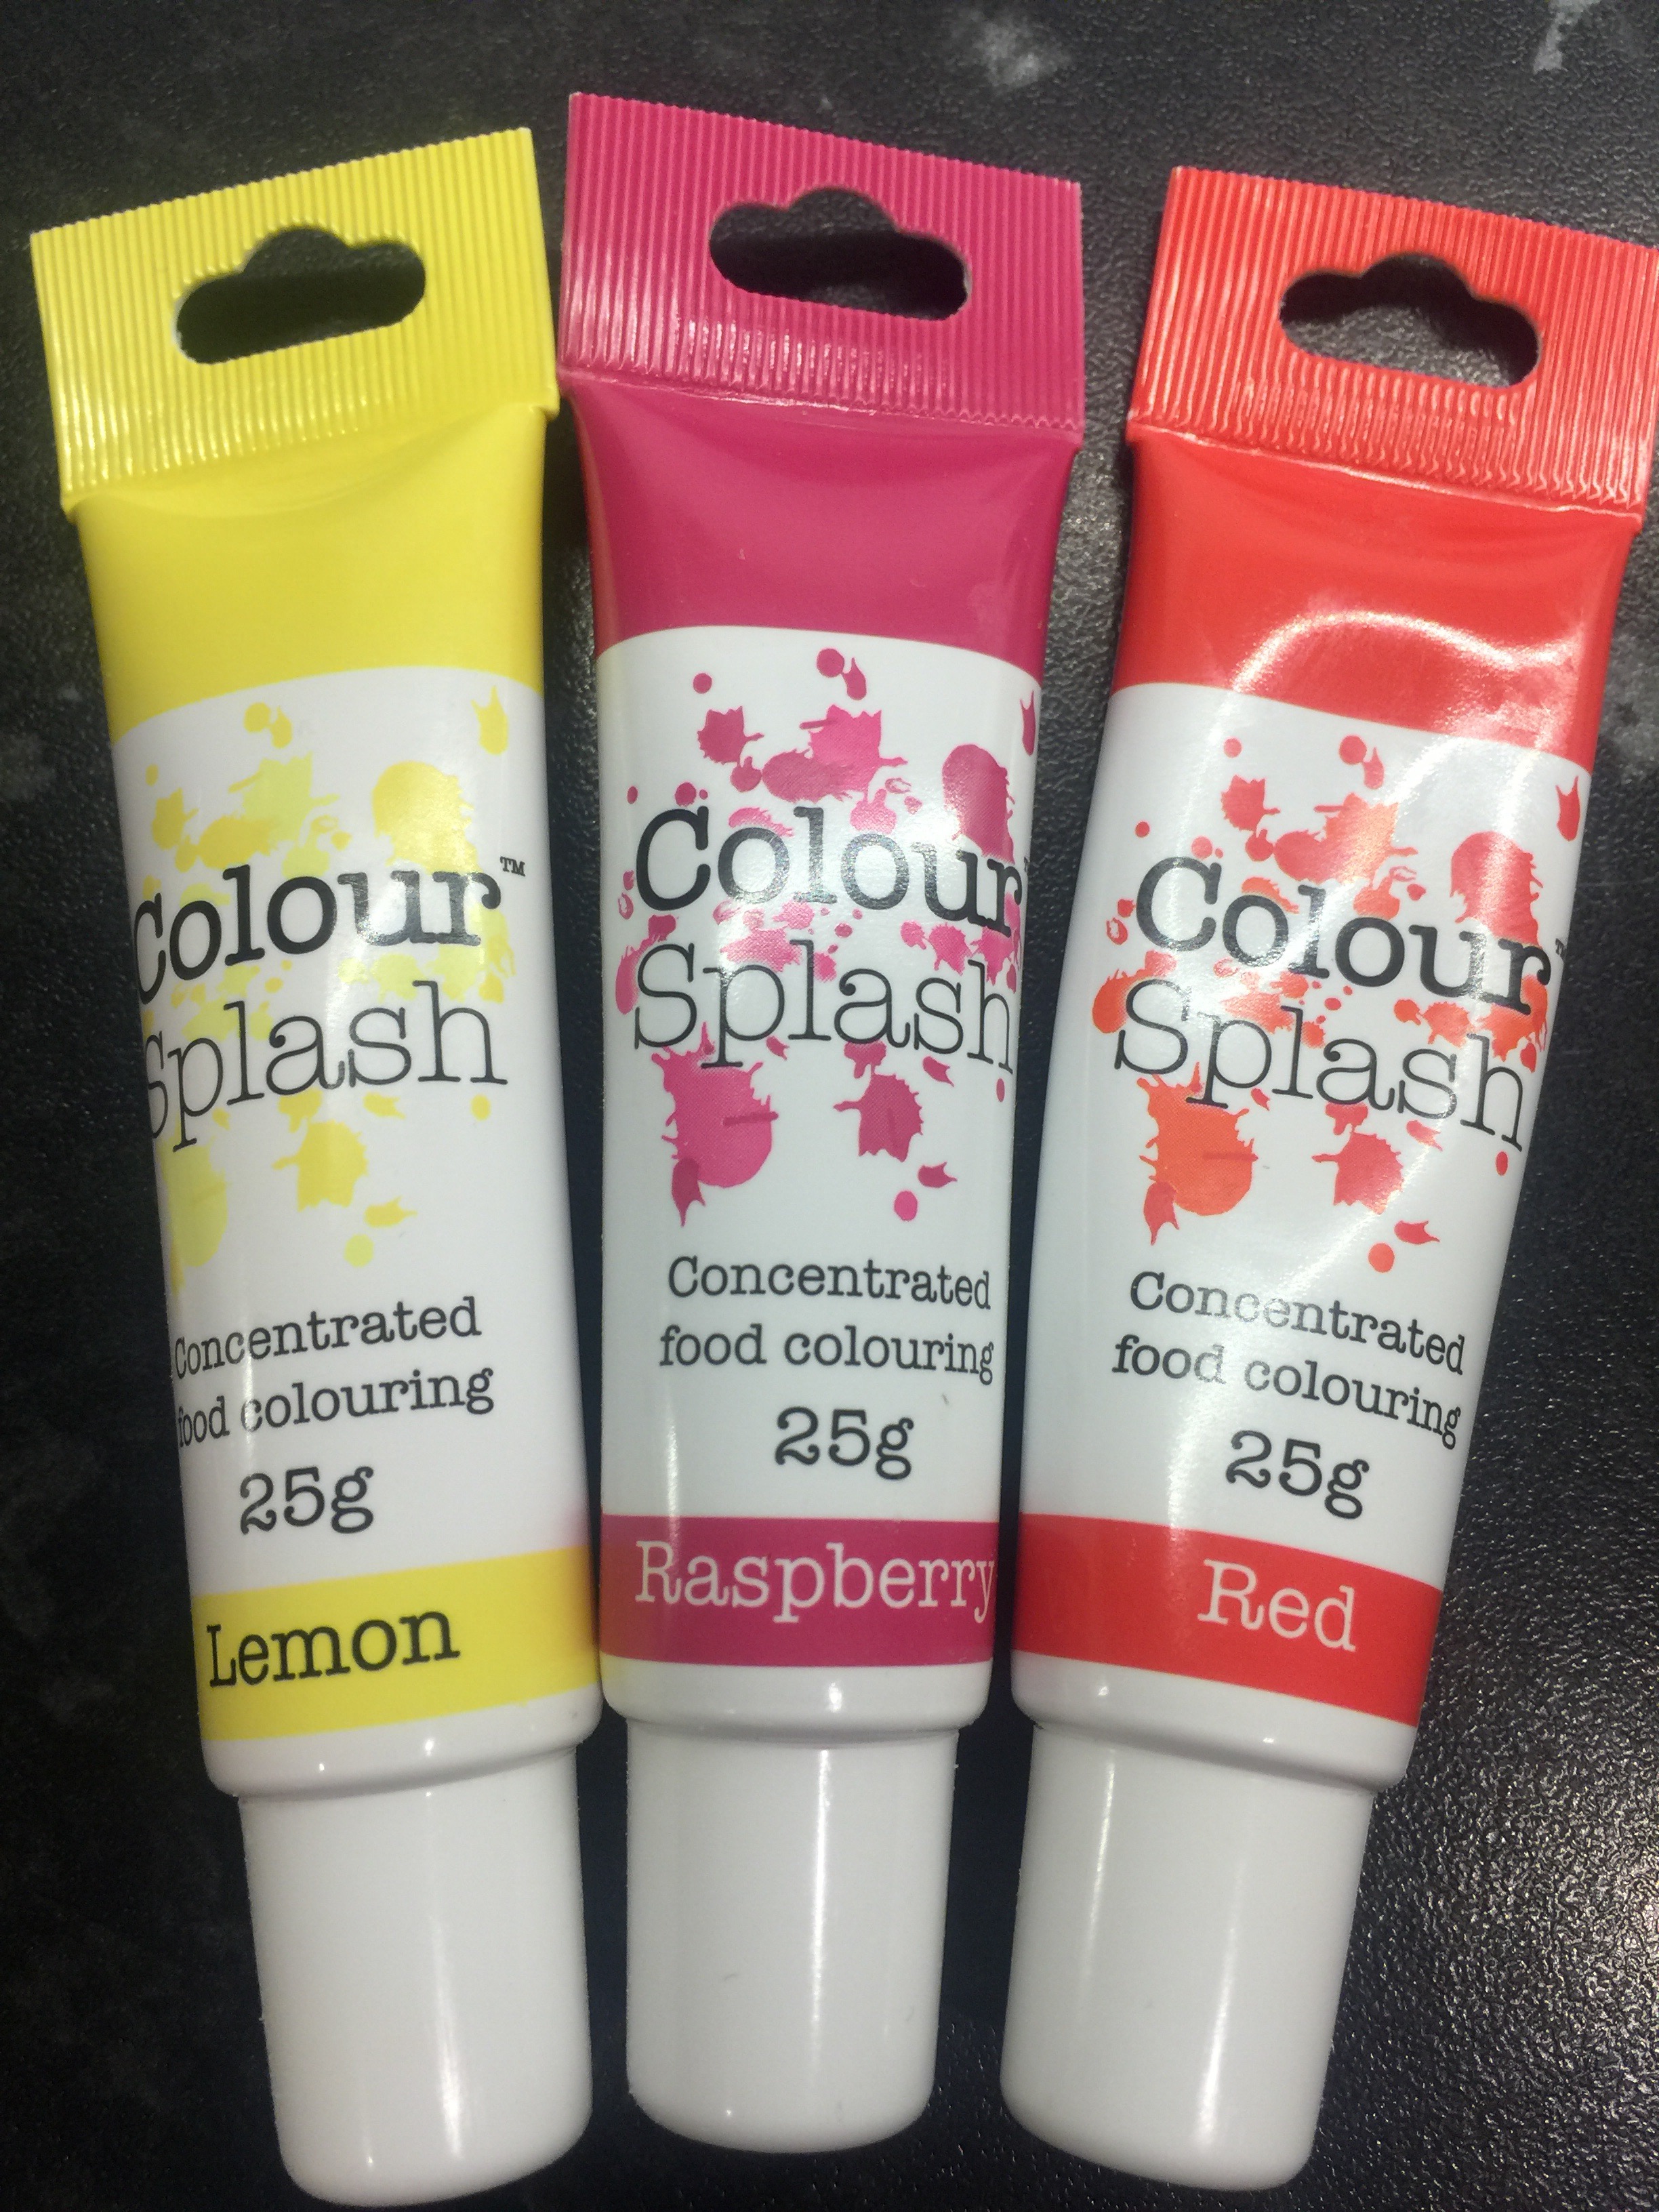
*A selection of gel food colourings. I always use gel as it does not water down the icing and gives a much bolder colour.
*3-5 tsp of whole milk (amount will vary on consistency of the icing)
*Some festive and colourful decorations. – I got the Christmas ones and Unicorn sparkles from Morrisons.
Baking the cakes: (Very Easy!):
*Preheat the oven to 180 degrees C
*Mix the caster sugar and butter together until it is nice and fluffy. I know some people swear by the all in one cake method but I find that getting all the air into the mixture at the start really makes a cupcake light and airy.
*Mix the eggs into the mixture along with the vanilla extract and baking powder
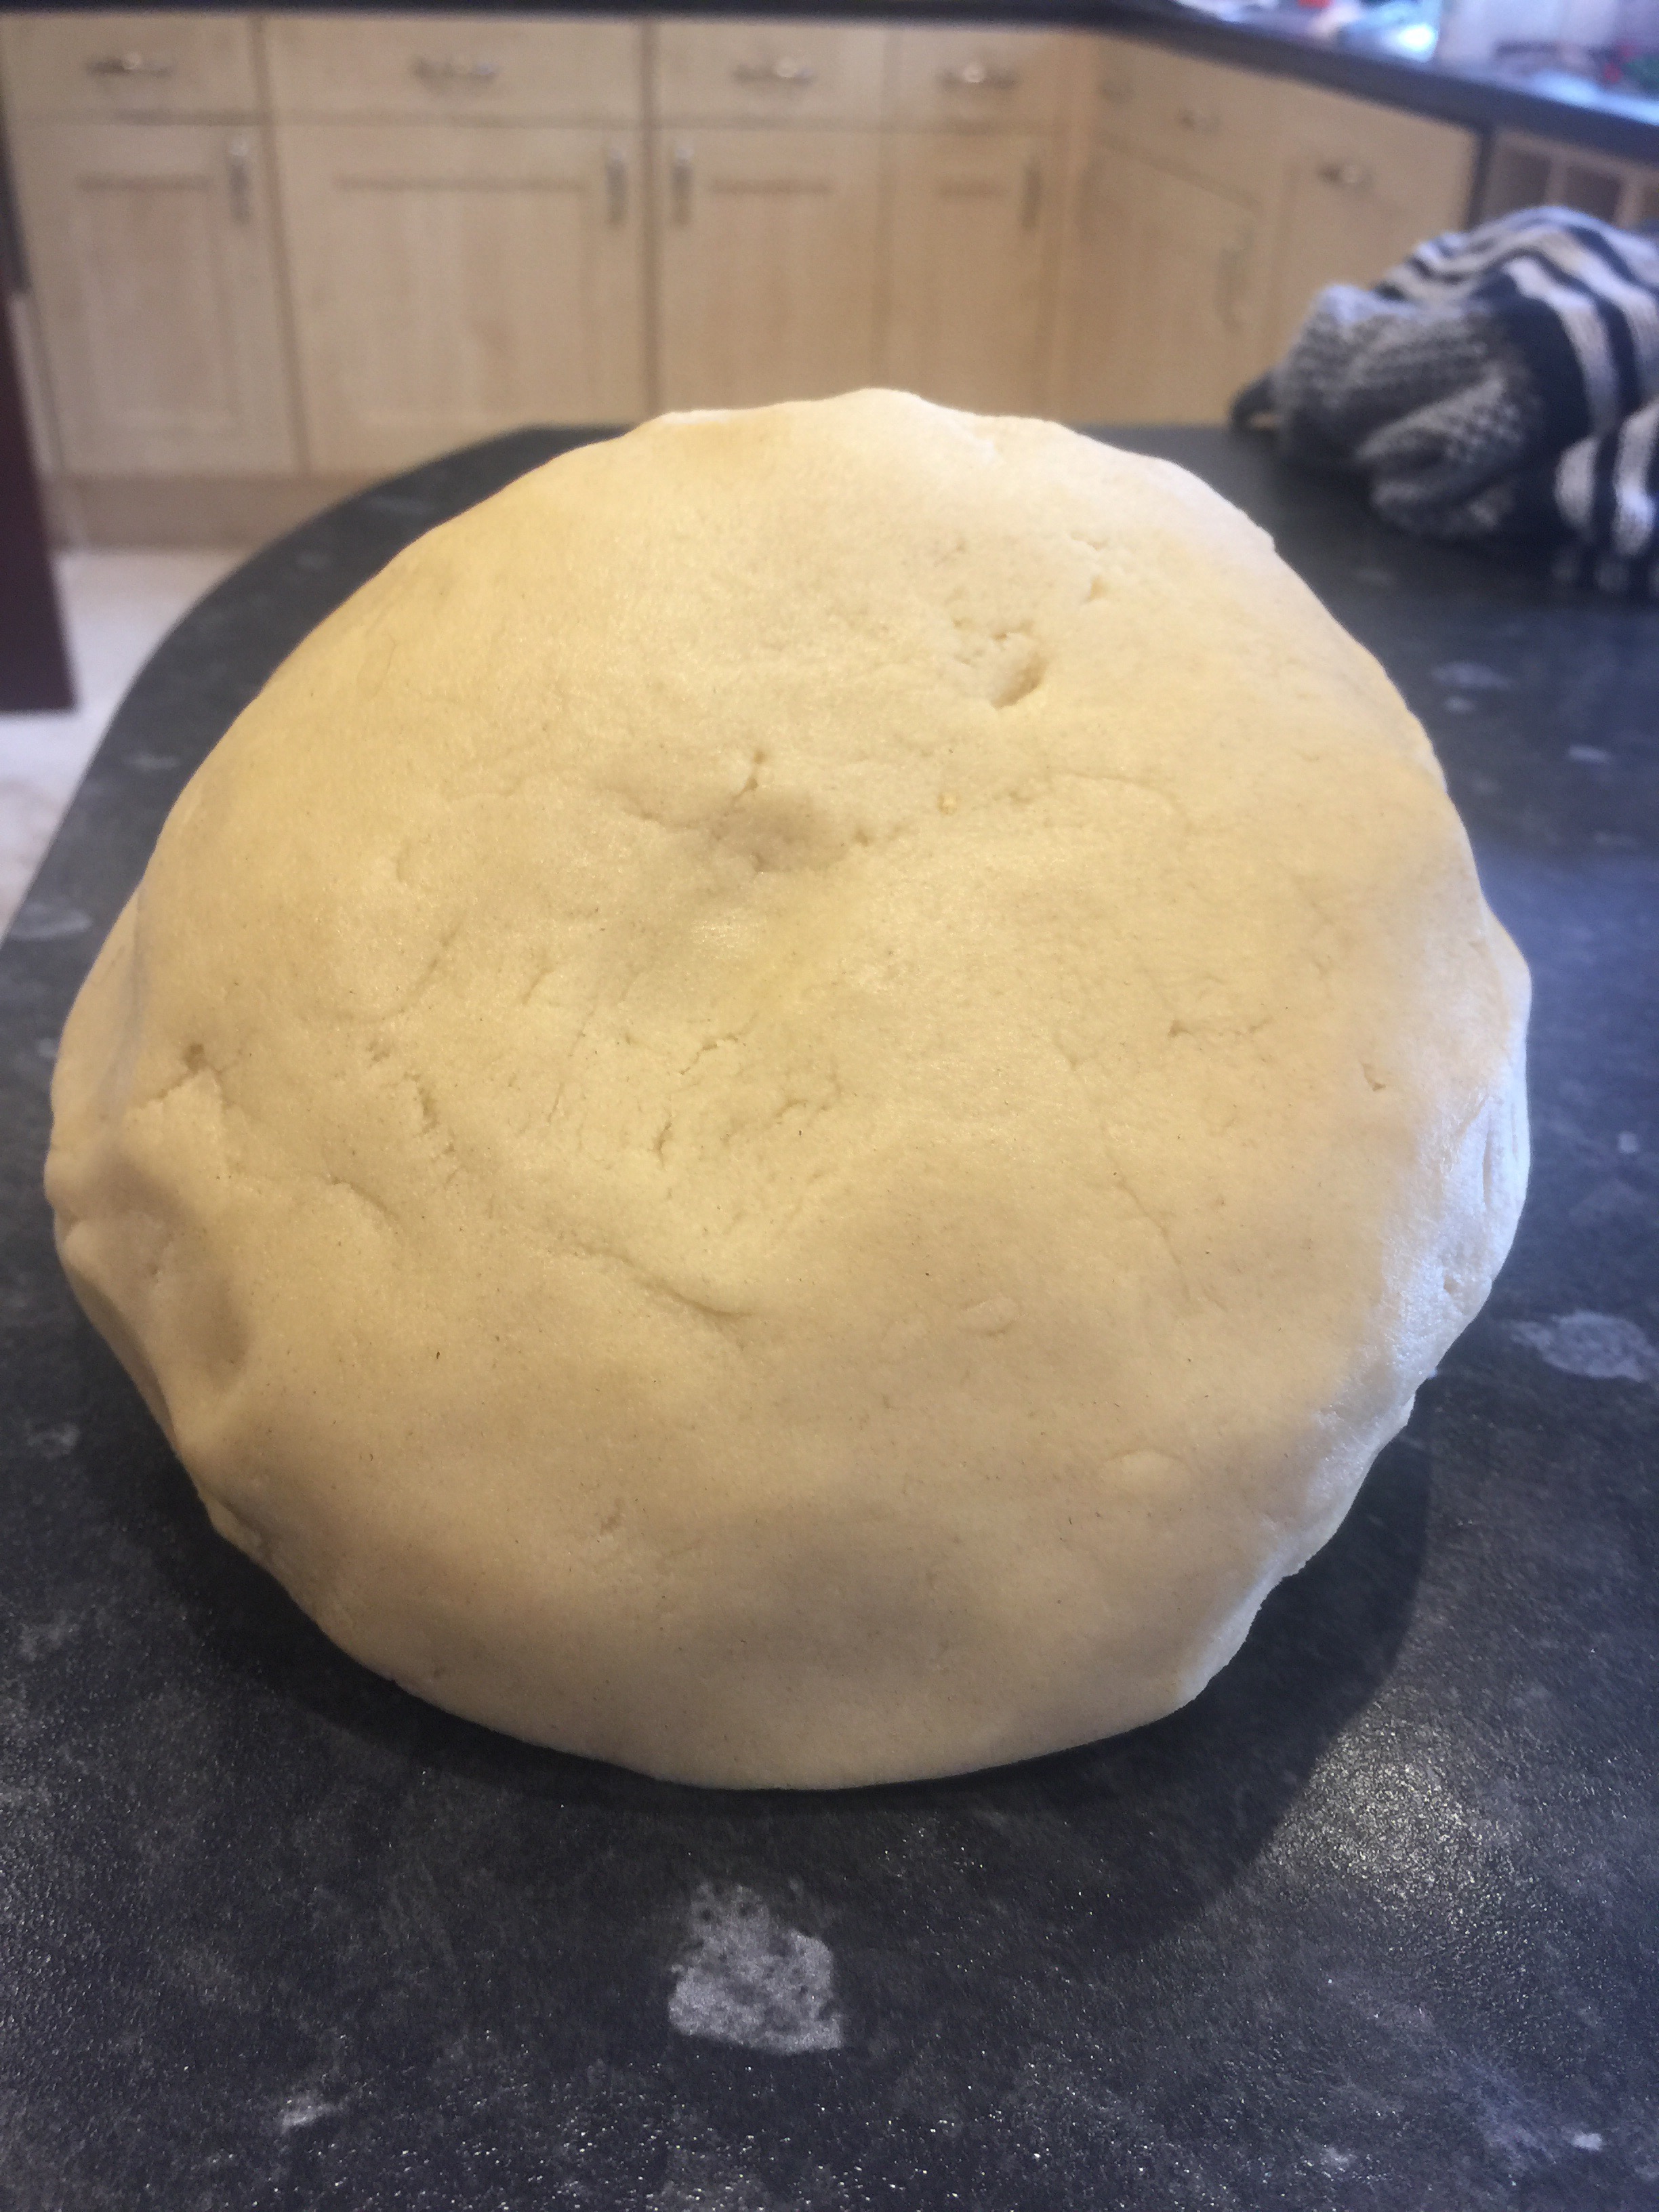
*Add the flour and you should have a nice smooth cake mixture.
*Spoon the mixture into the cupcake cases in a cupcake tray and bake for 20-25 mins. Test with a skewer, if needed bake for a few more mins. Then leave on a wire rack to cool.
Making the Icing:
*Beat the butter until it is smooth and add the vanilla extract
*Slowly add the icing sugar to the butter, make sure the consistency stays smooth. If the mixture gets too thick add some of the milk and keep mixing in the icing sugar.
*Add milk to make the icing a pipe-able consistency.
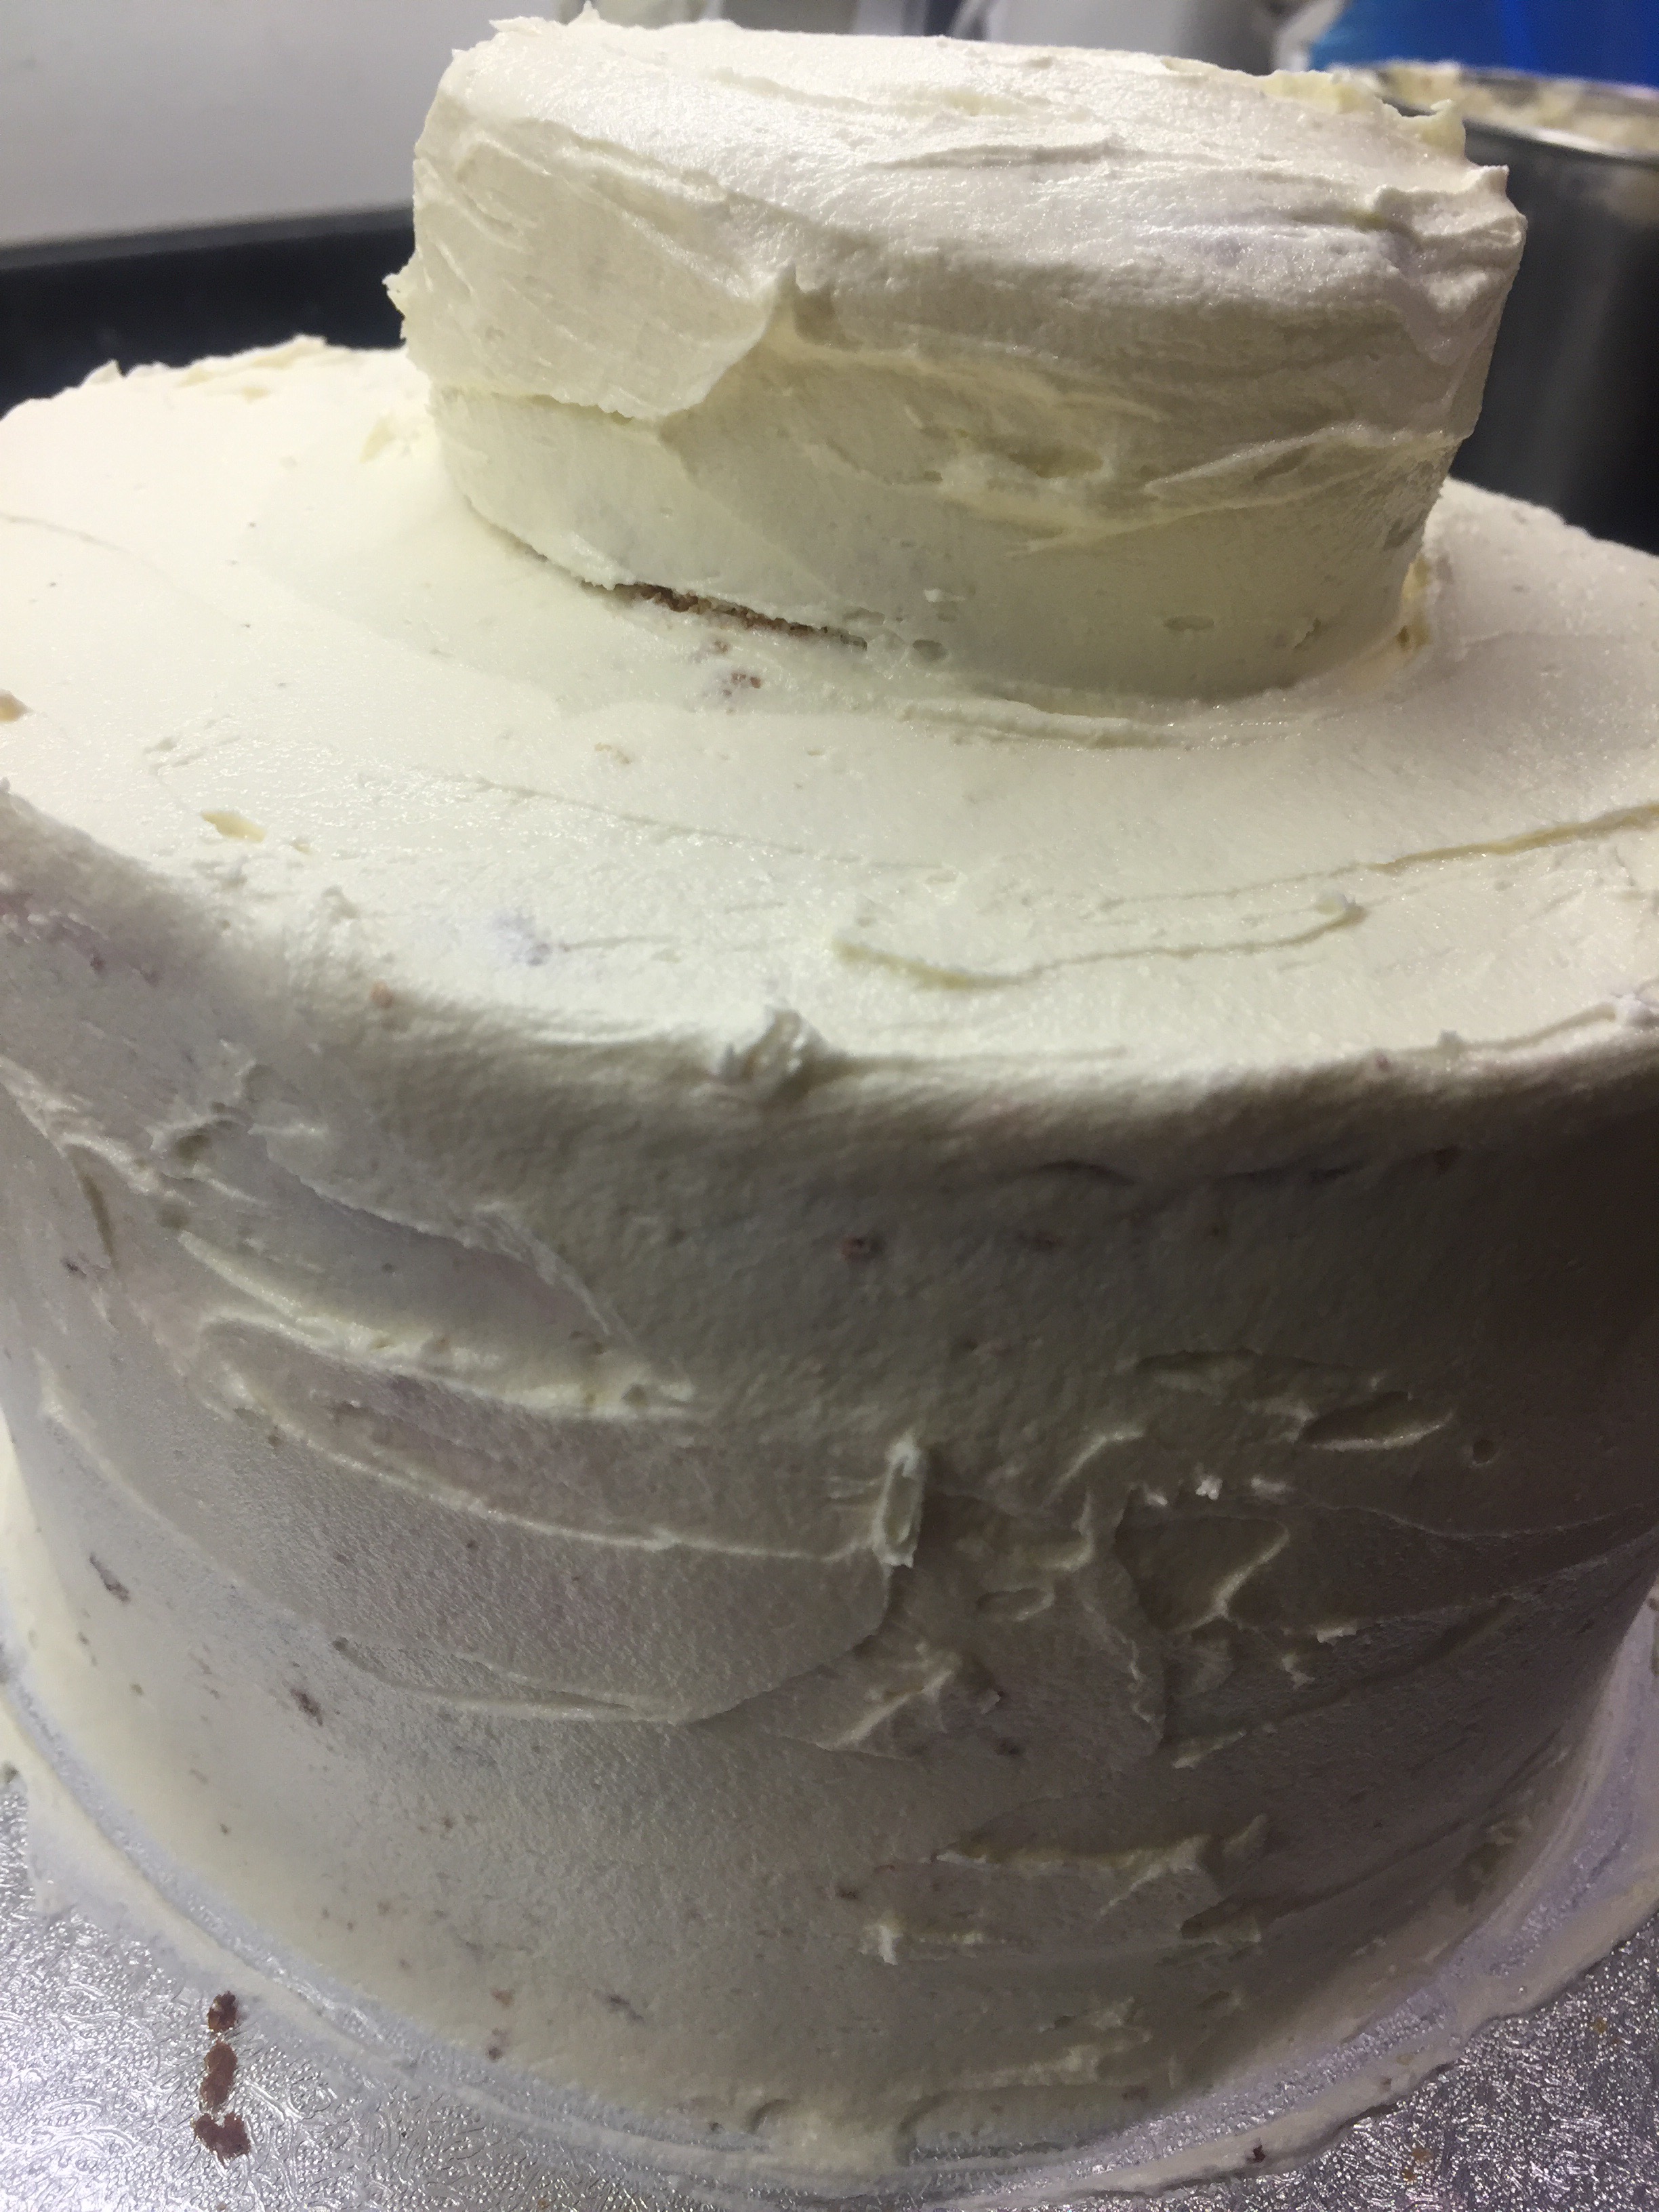
For both the unicorn and Christmas tree cupcake I added a marshmallow to the middle. This means the cupcakes can have the correct height without having too much icing.
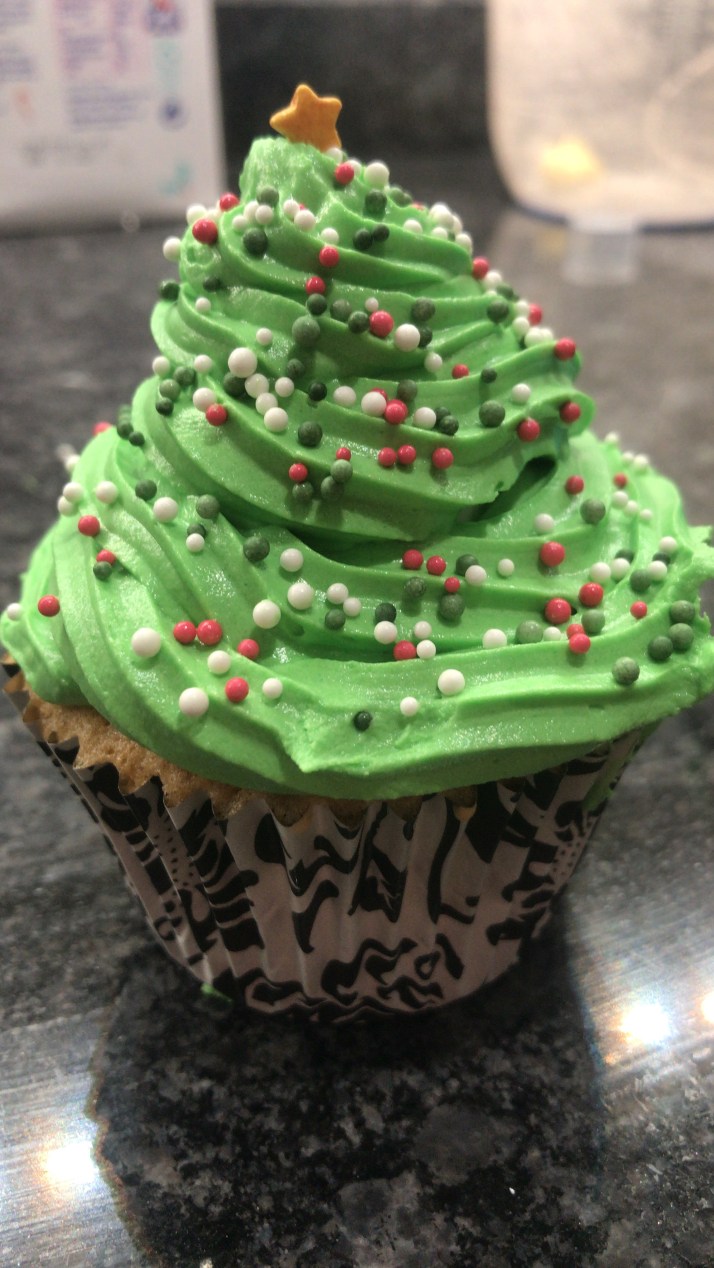
Icing the Christmas Trees:
*Add the green gel food colouring to the buttercream and mix in well. It should become the lovely shade of green below
*I used a large open star icing tip and piping bag to pipe the icing in swirls around the marshmallow in the middle.
*Add round candy sprinkles to the tree for Christmas decorations and a star on top.
Easy right!
Icing the Unicorn cupcakes:
*This is super easy as you do not need to colour the buttercream!
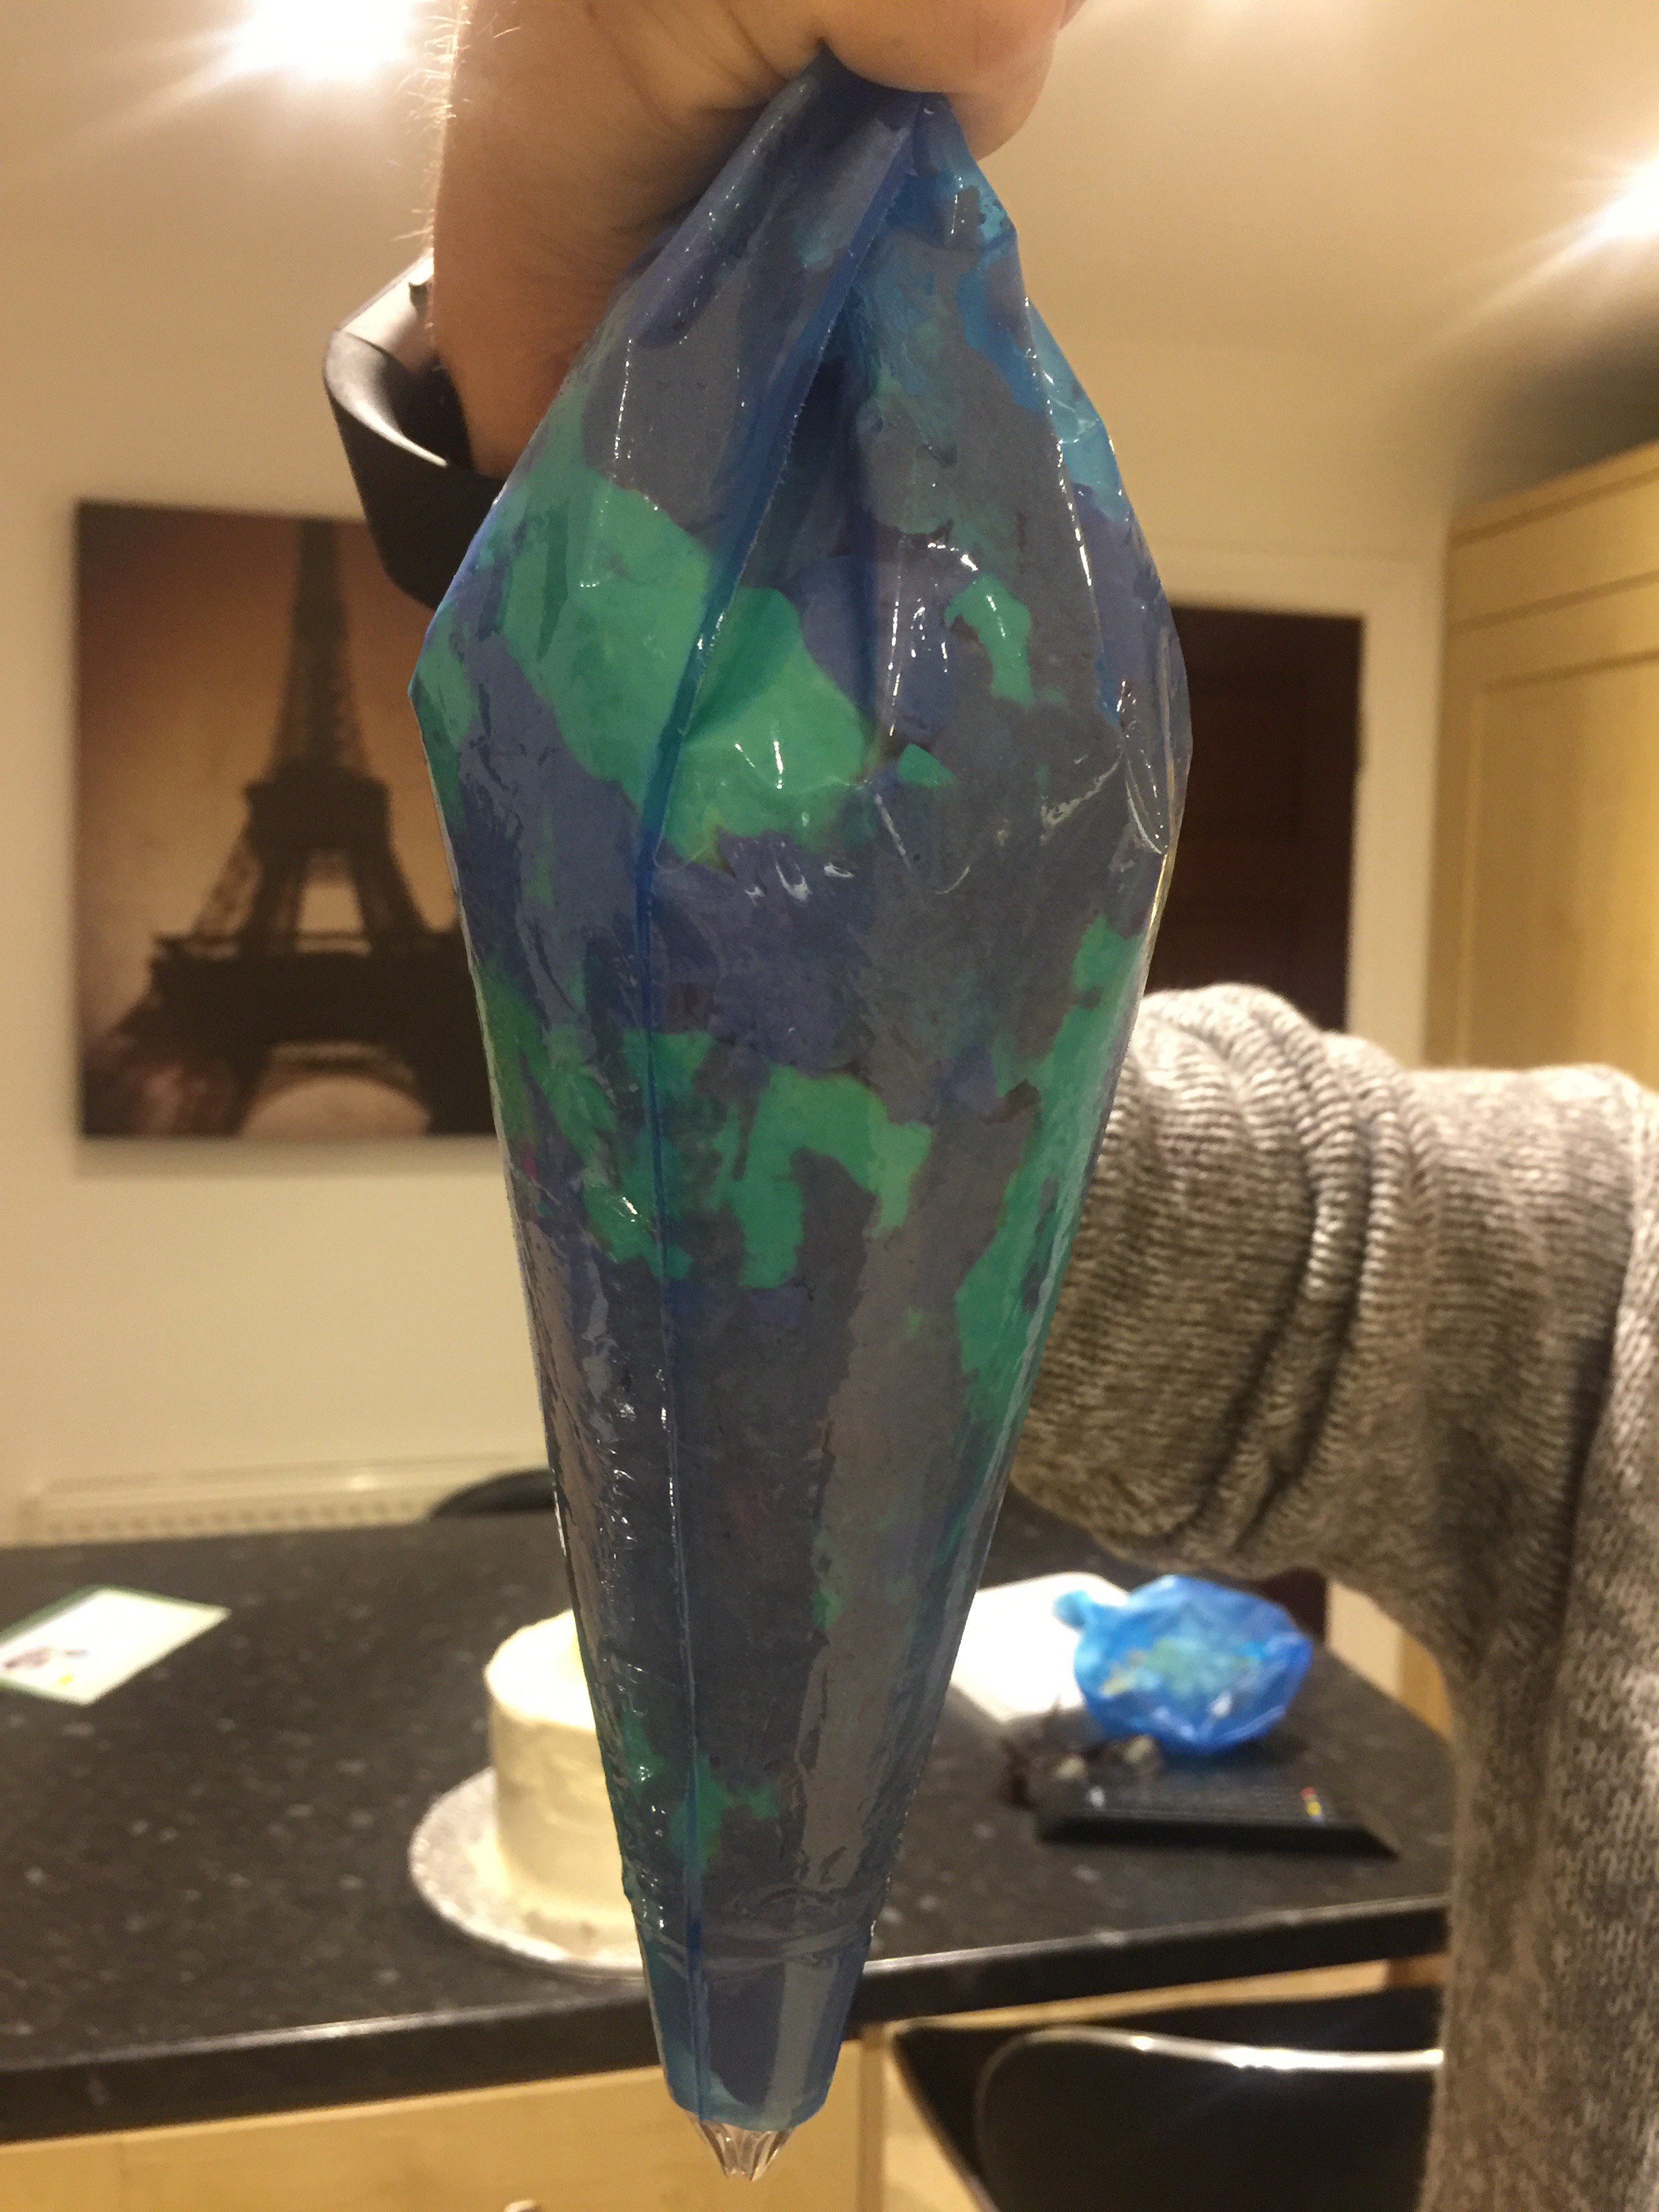
*Use the same open star icing tip but this time you need to paint stripes up the inside of the piping bag before you put the buttercream into the bag. I did one stripe of pink, purple and blue to get the squirly effect below.
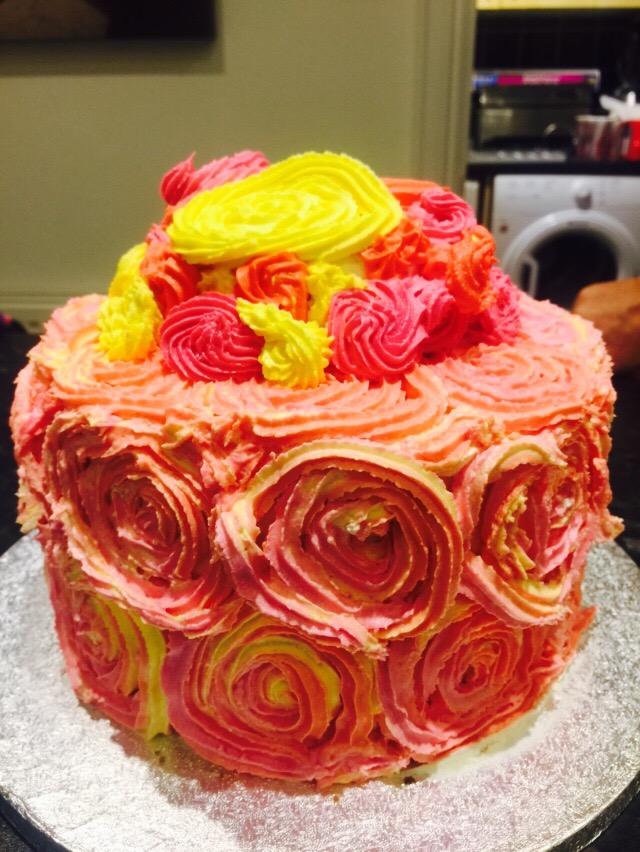
*Decorate with sprinkles and unicorn confetti. I added a touch of edible glitter just to give it a bit of unicorn sparkle.

So both very easy to achieve and they got a lot of compliments on how unique and quirky they were, and they tasted fabulous too.
Chocolate Cupcakes:
Recipe (This will bake 12 cupcakes):
*180g Unsalted butter
*170g Caster sugar
*120g Self raising flour
*1tsb of Baking Powder
*40g of Cocoa Powder
*3 Large Eggs
*1tsb of Baking Powder
For the Icing:
*60g of Unsalted butter
*250g Icing Sugar
*30g Cocoa Powder
*3tbsp of Whole Milk
*Decorations – The Holly is from Morissons
Baking the cakes:
*Preheat the oven to 200 degrees C.
*Mix the butter and caster sugar together until fluffy (Again, I am not a fan of the all in one method, with chocolate cakes you need to get as much air into them as possible)
*Add the cocoa powder and eggs to the mixture then fold in the flour and baking powder to keep the air in the mixture.
*Spoon the mixture into the cupcake cases in a cupcake tray and bake for 12-15 mins, check if the are cooked with a skewer. Cakes should be risen and spongey to touch. If not cooked check again after 2 mins.
*Cool on a wire rack.
Making the chocolate icing:
*Melt the butter (I did this in the microwave)
*Add the cocoa powder to the melted butter and then slowly add the icing sugar and beat well to make sure it does not go lumpy.
*If the icing gets too thick then add the milk a little at a time to make sure it is the correct consistency for piping.
*This icing comes out really glossy and shiny, I think it may be a new favourite!
Icing the cupcakes:
*I used a slightly smaller open star tip for these cupcakes and did not put a marshmallow in these ones as I wanted a gelatin free option.
*Put the icing into a piping bag and pipe in swirls to cover the cake.
*I decorated these with some edible holly decorations and a bit of gold edible glitter.

I was super chuffed with these! They were so easy to make, no mucking around with colours or any of that. The glitter just gives them a little bit of flair but they are simple and cute.
I got so much positive feedback on these which was lovely after not baking anything for so long. I think I may have been bitten by the baking bug all over again 🙂
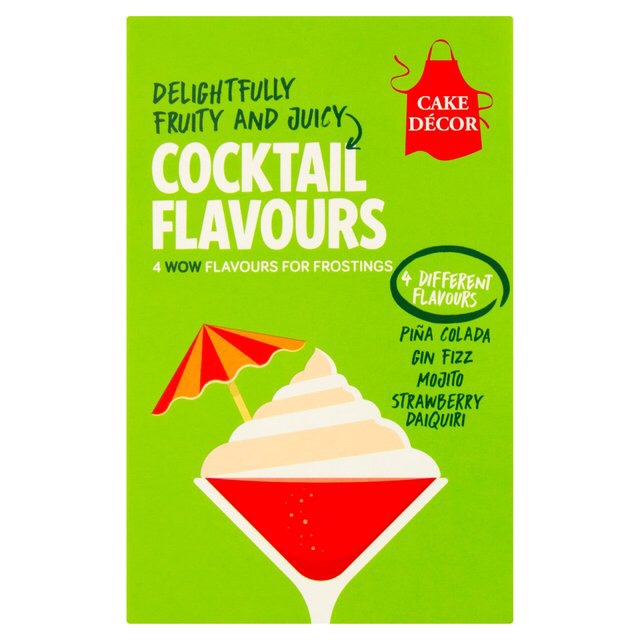
 Strawberry Daiquiri
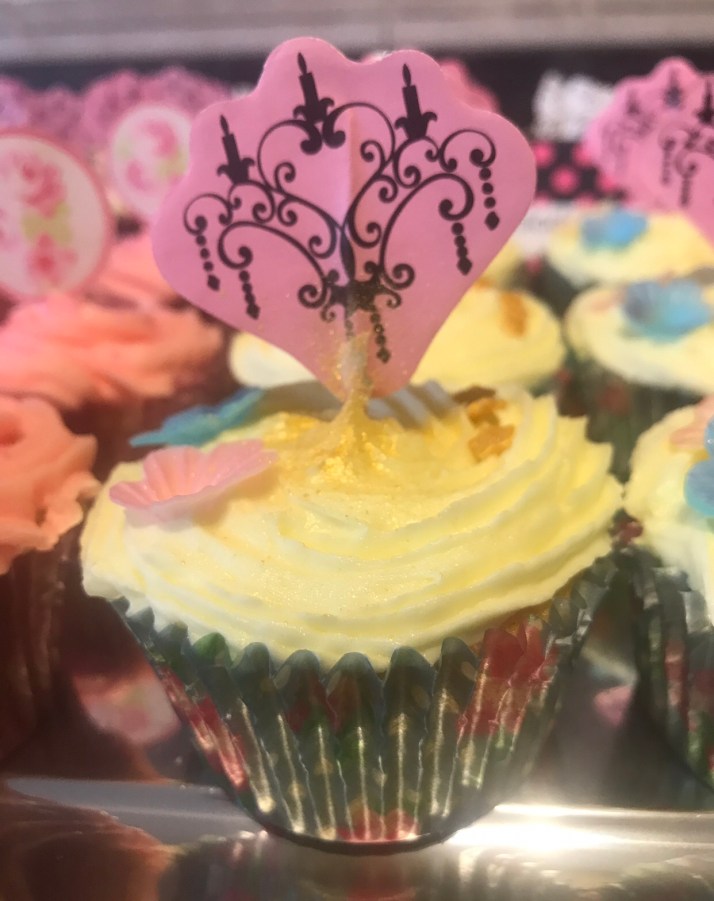 Pina Colada
 Mojito
 Gin Fizz (Pink)
  Gin Fizz (This was my favourite!!!)